Janelle
|
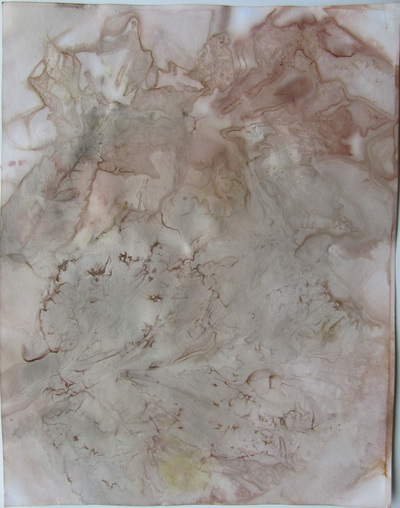
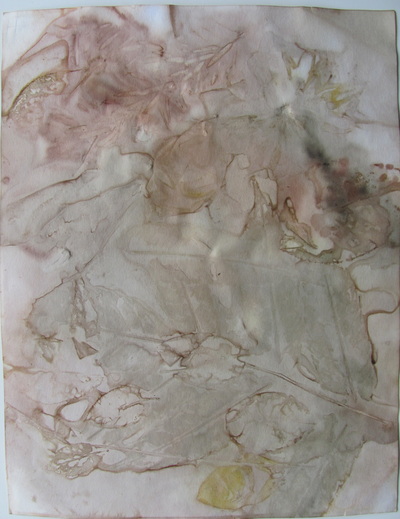
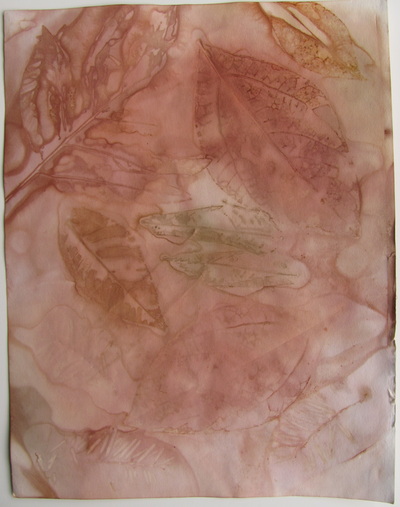
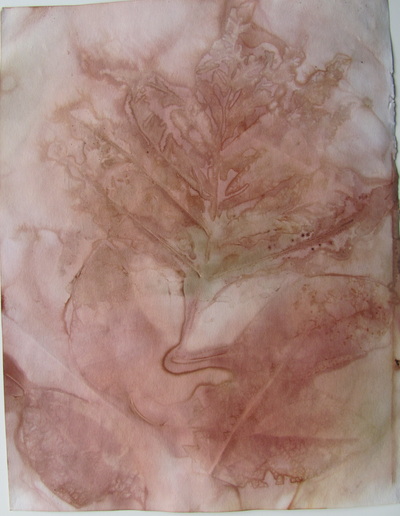
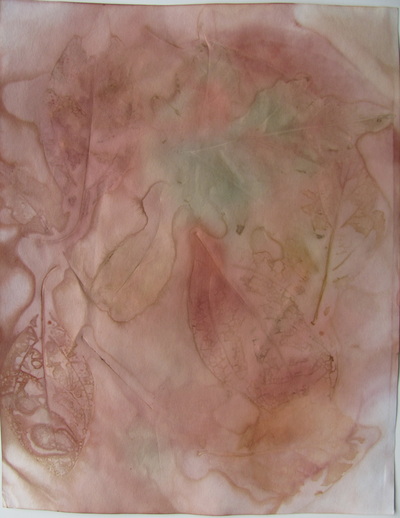
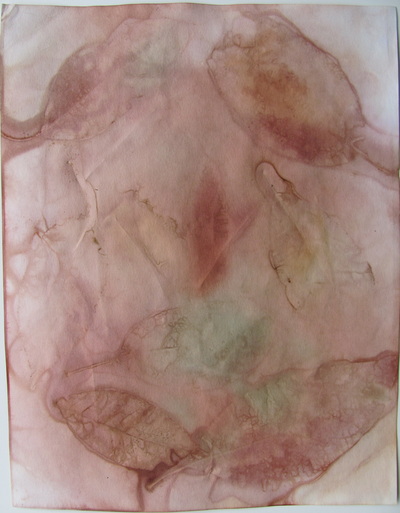
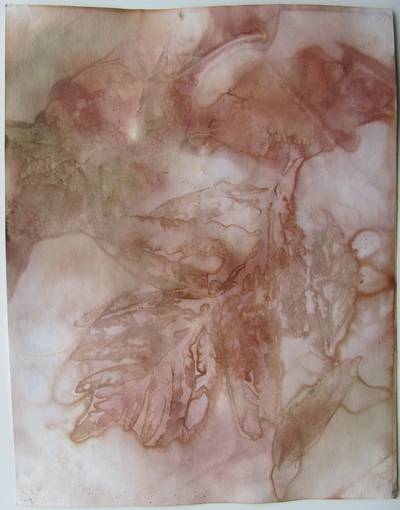
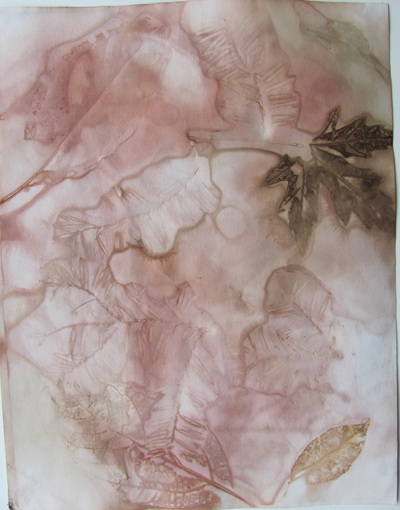
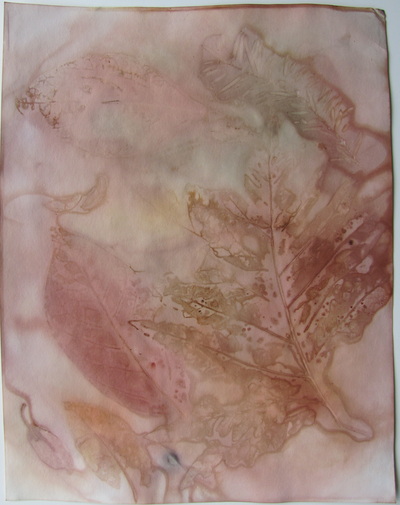
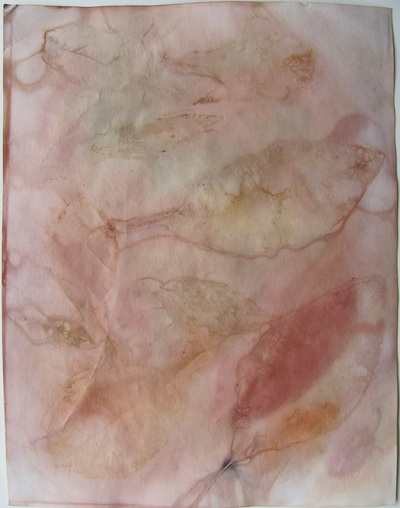
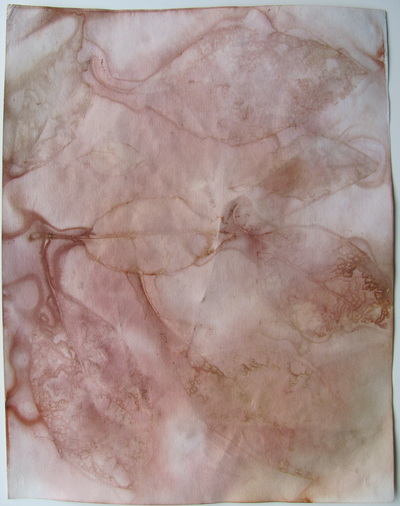
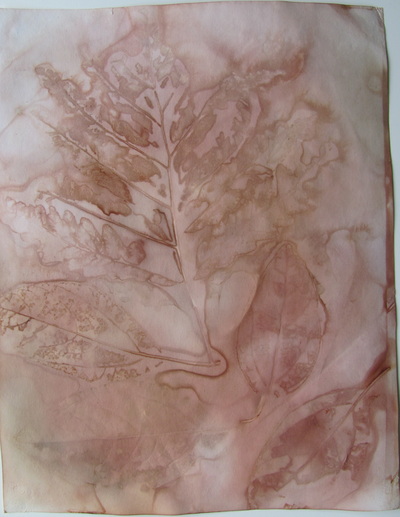
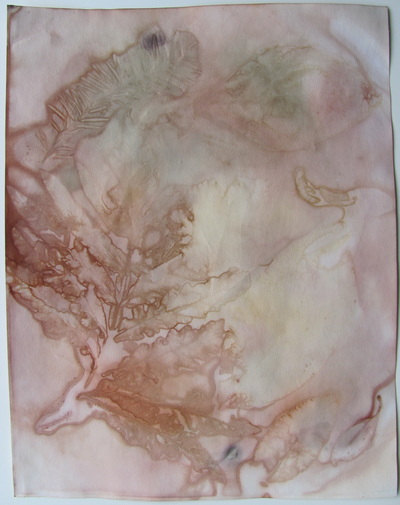
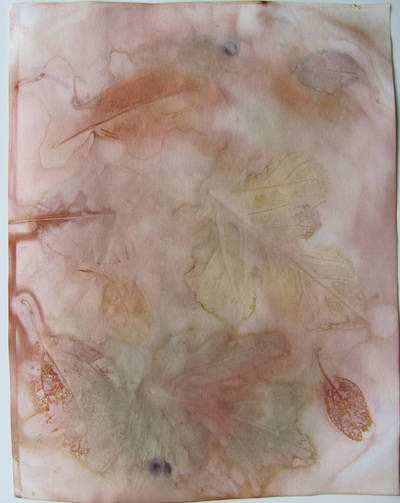
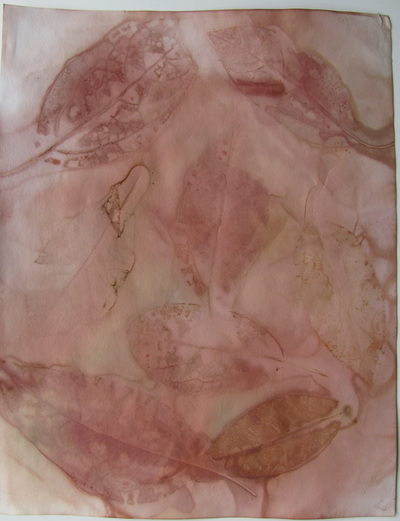
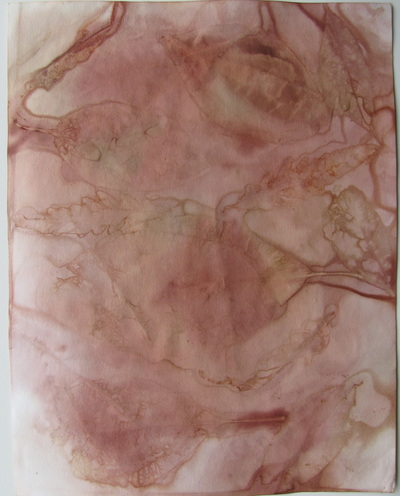
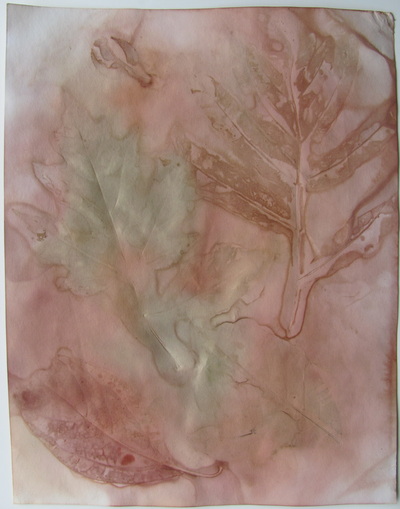
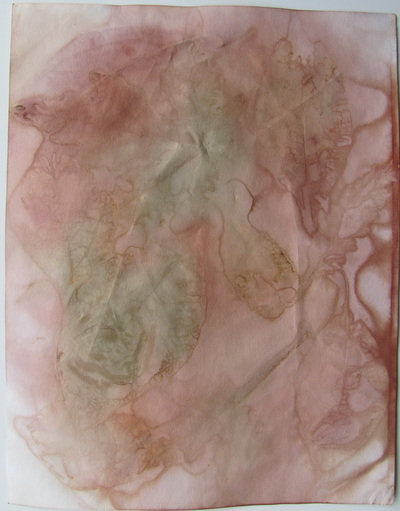
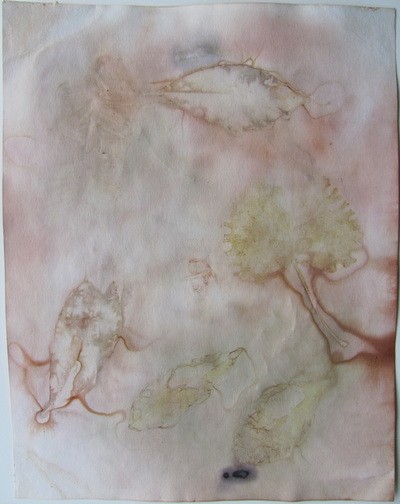
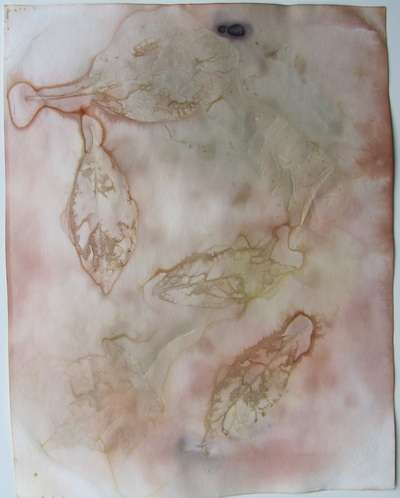
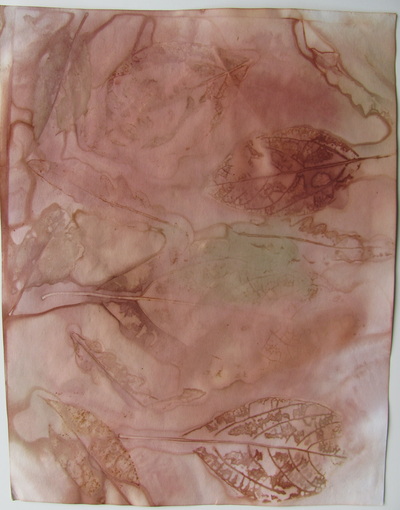
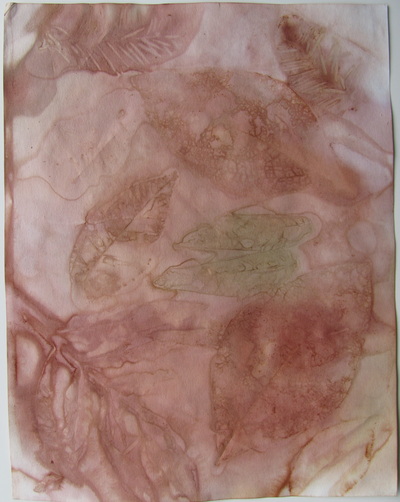
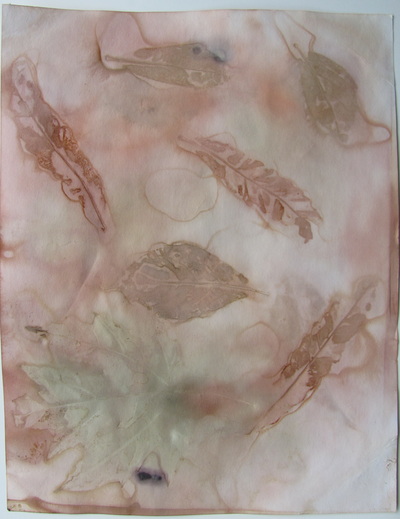
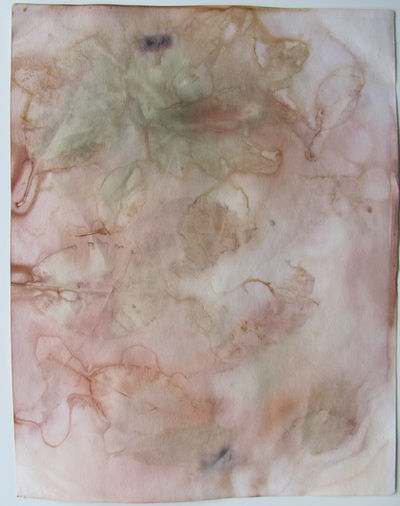
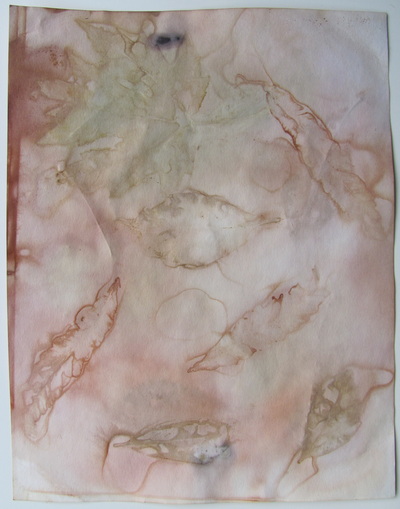
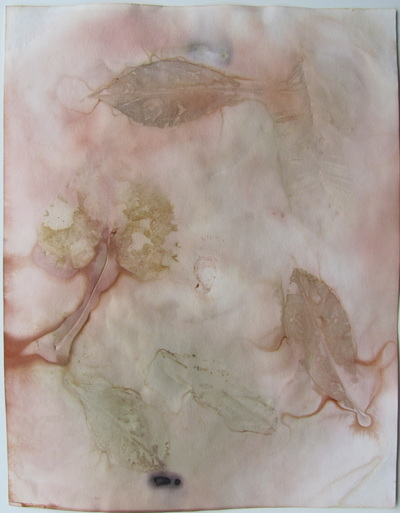
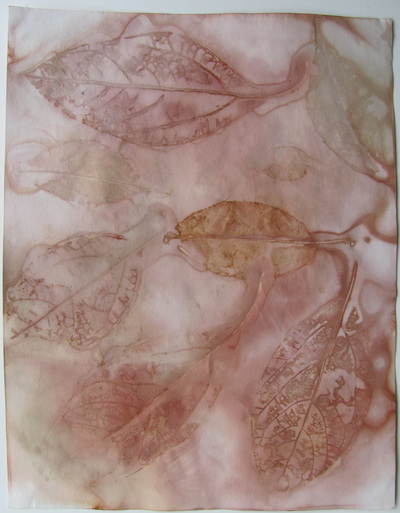
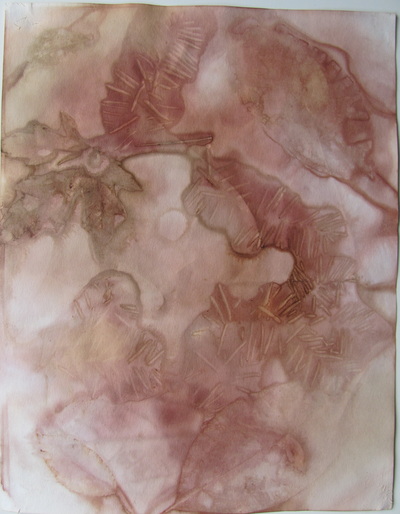
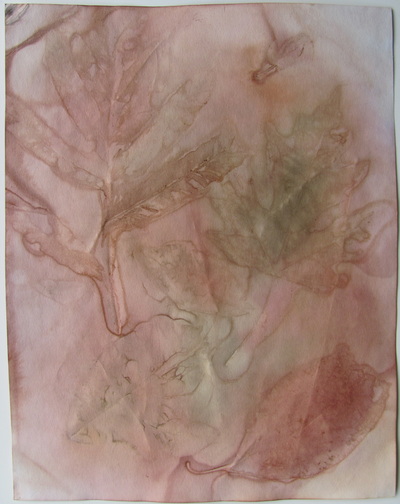
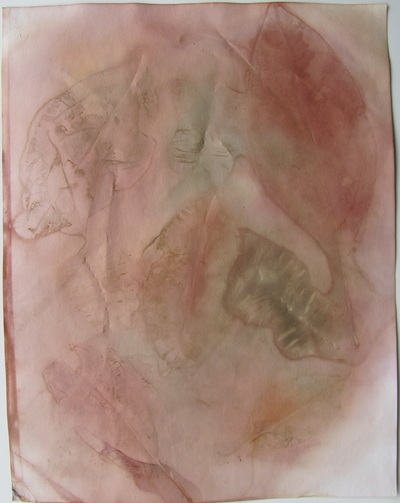
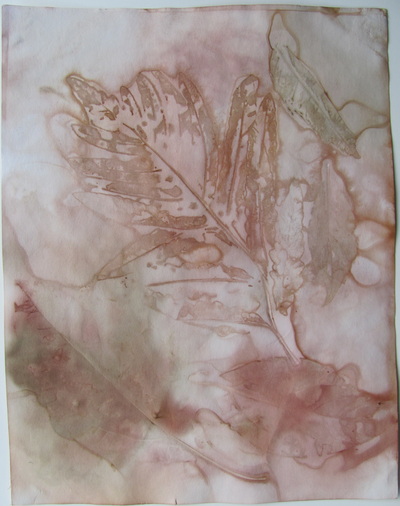
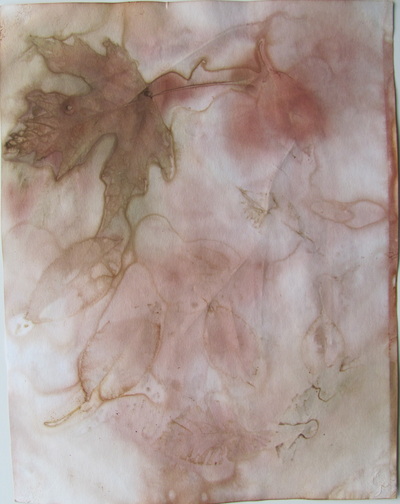
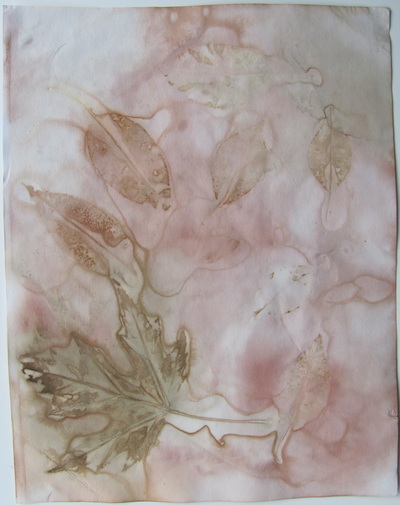
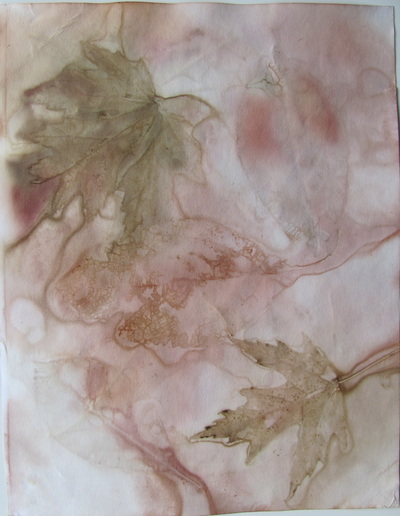
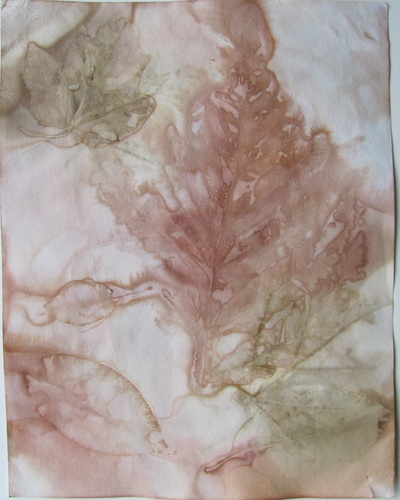
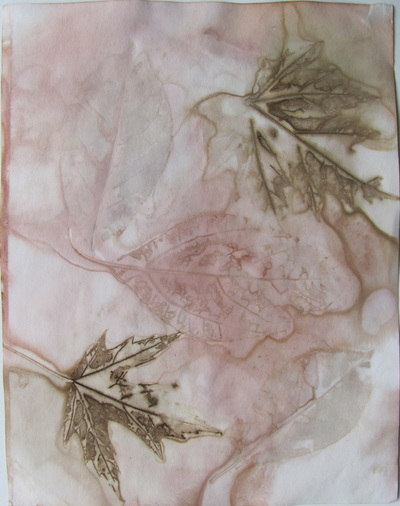
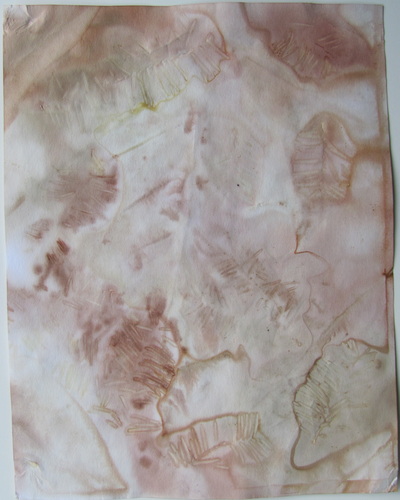
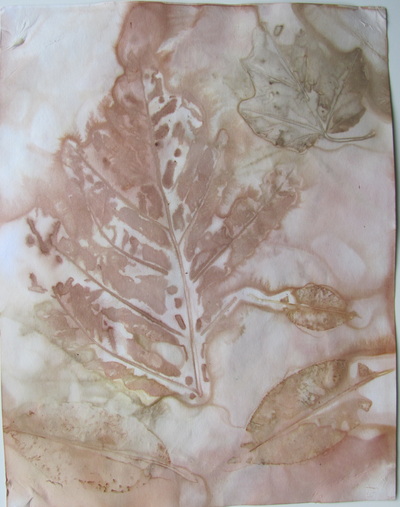
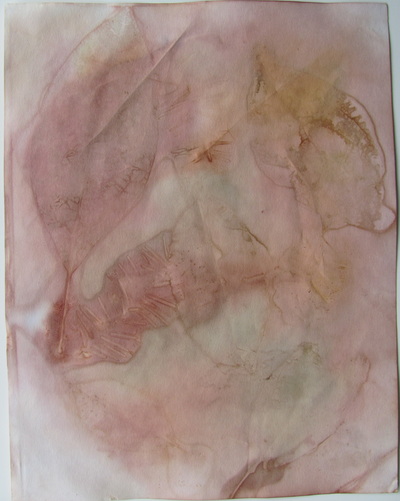
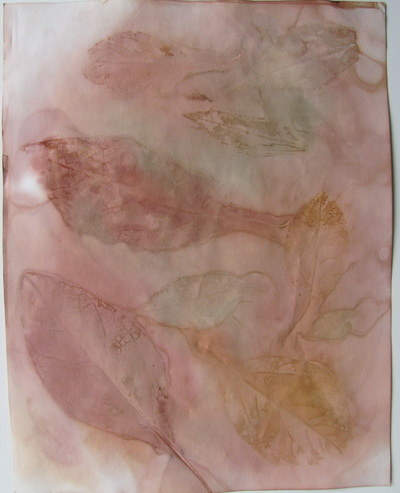
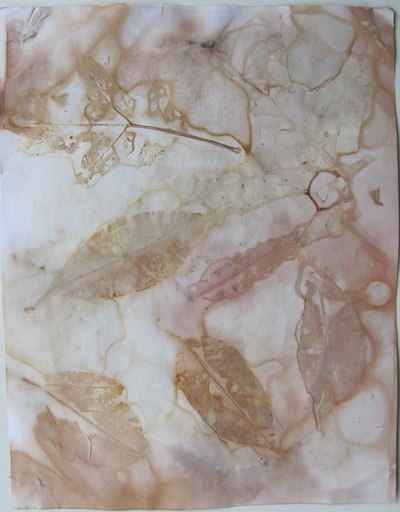
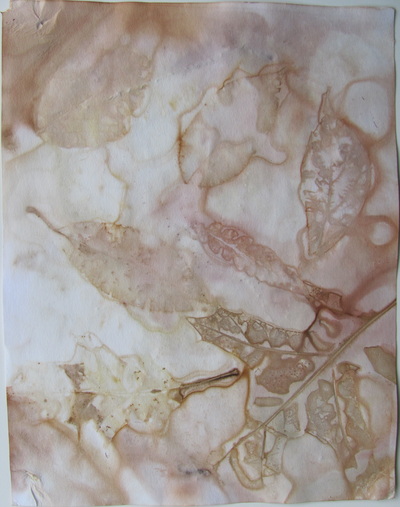
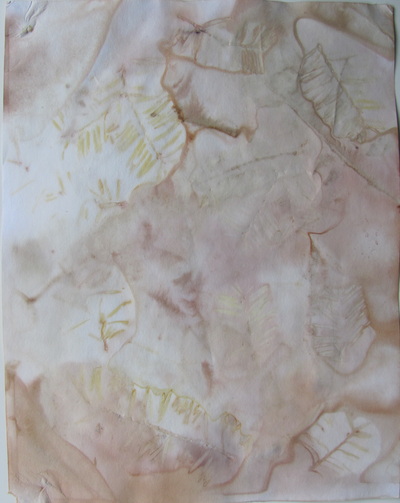
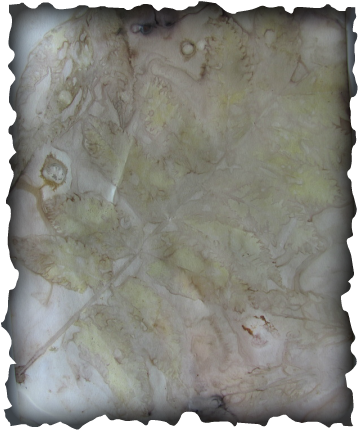
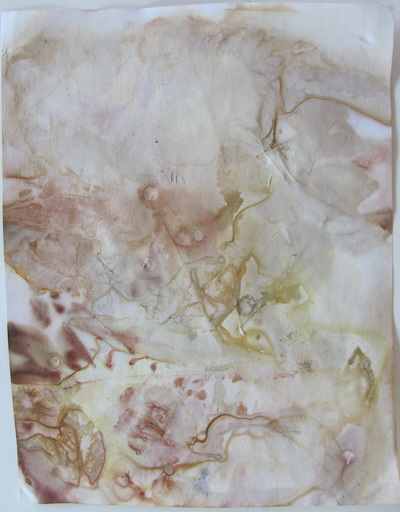
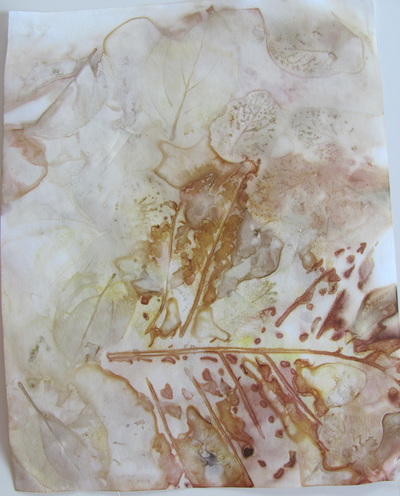
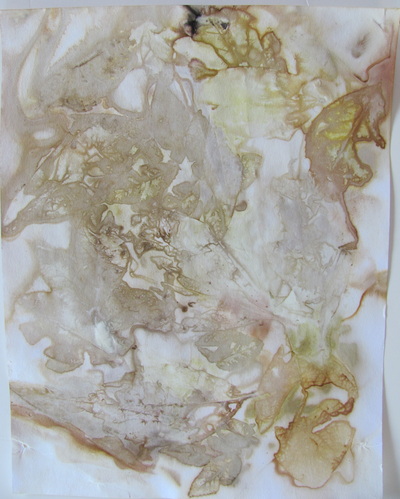
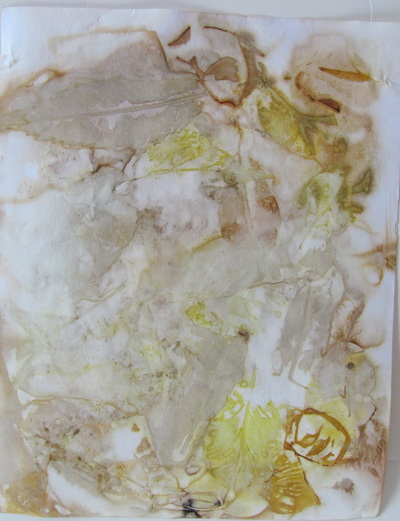
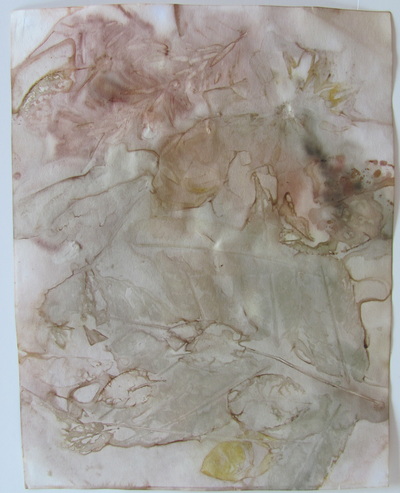
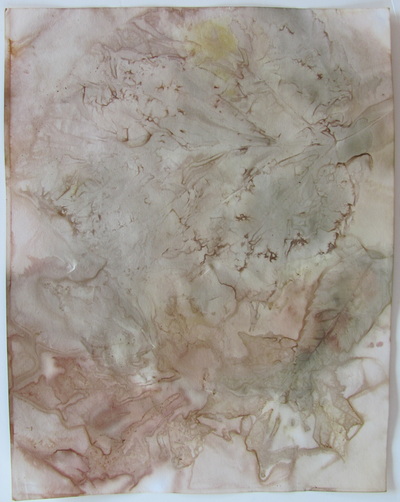
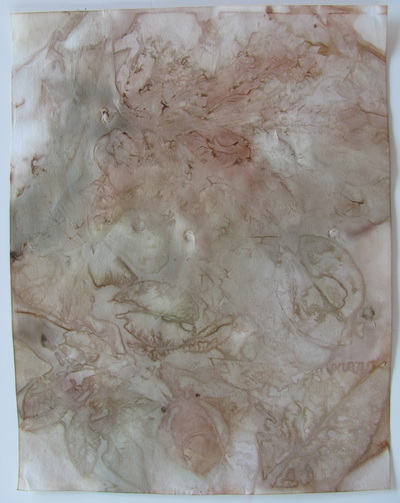
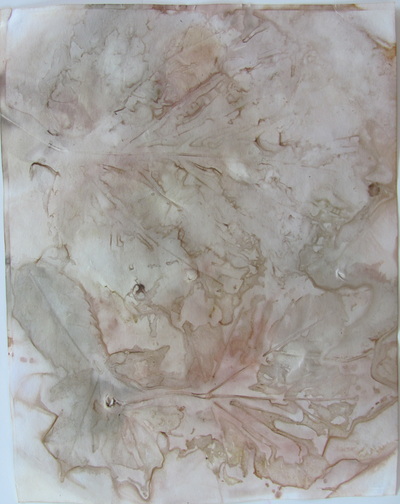
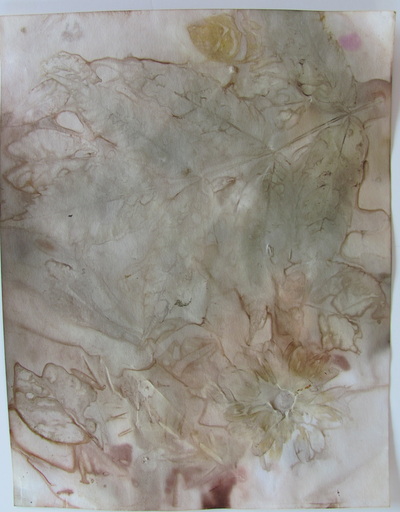
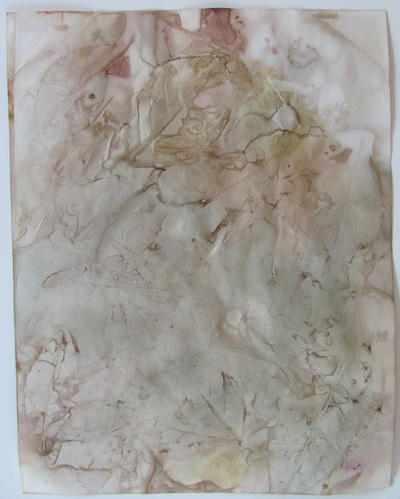
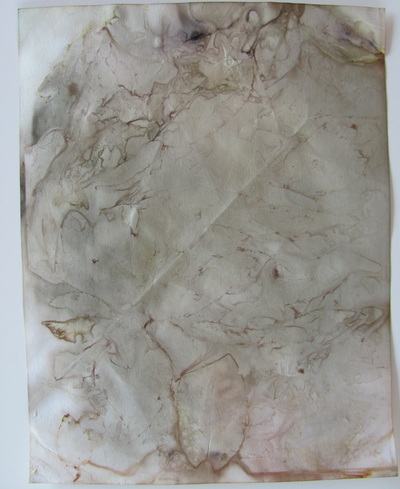
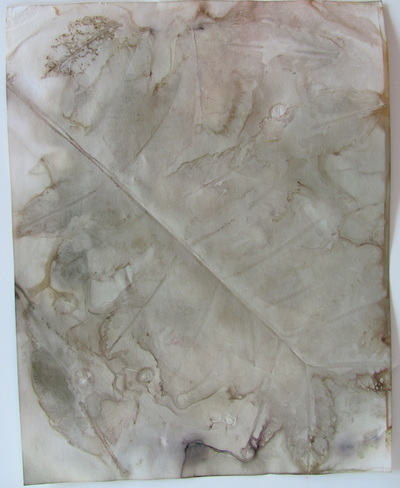
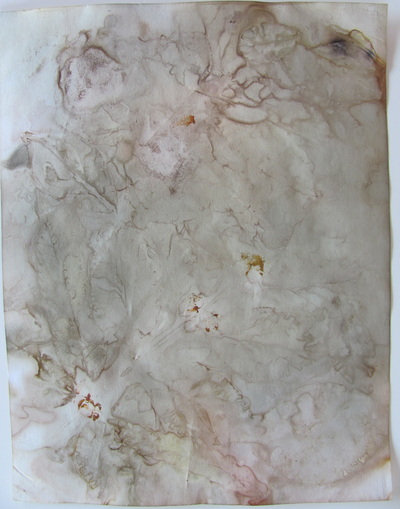
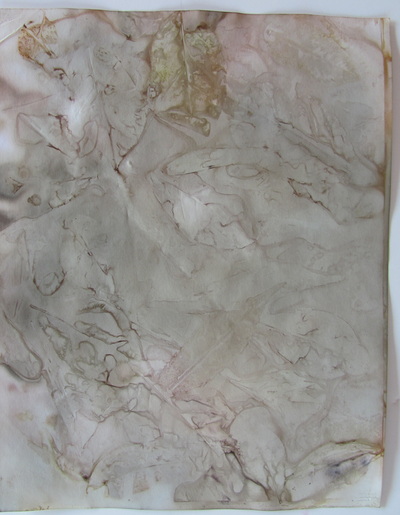
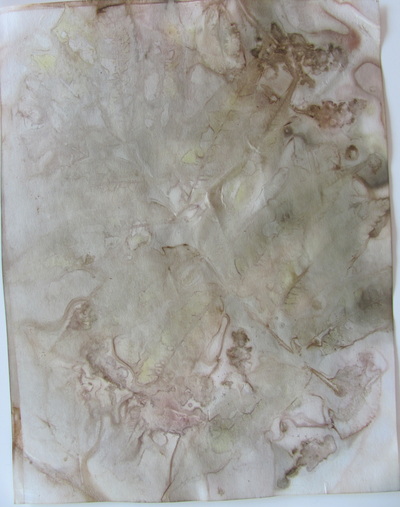
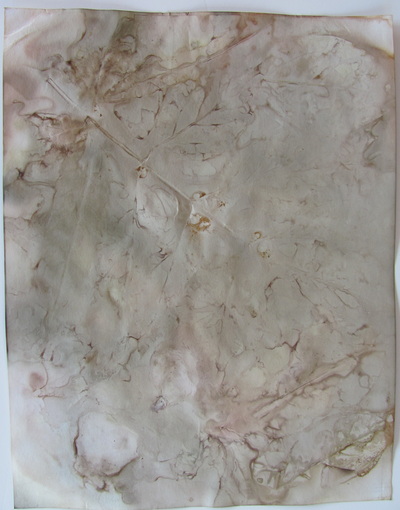
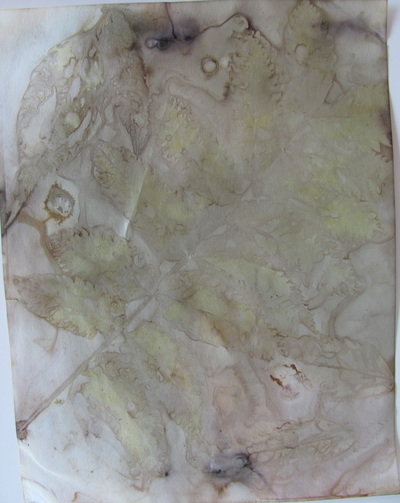
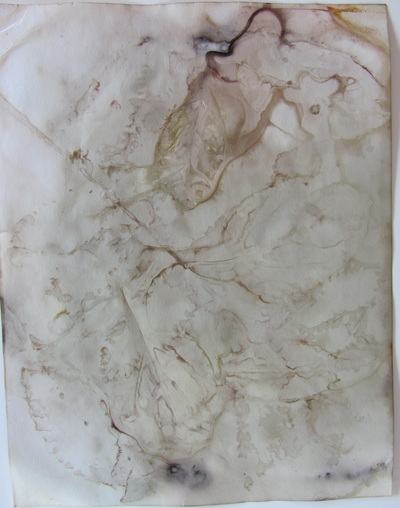
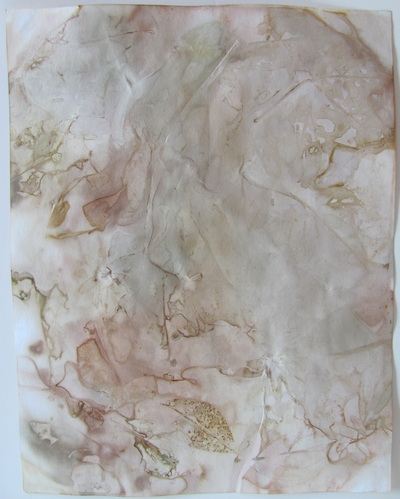
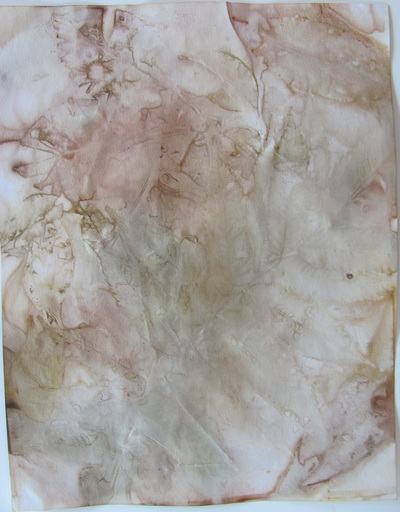
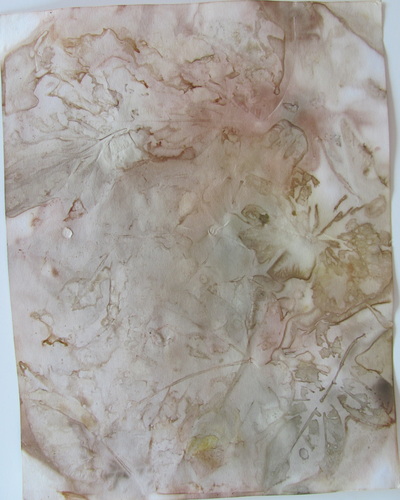
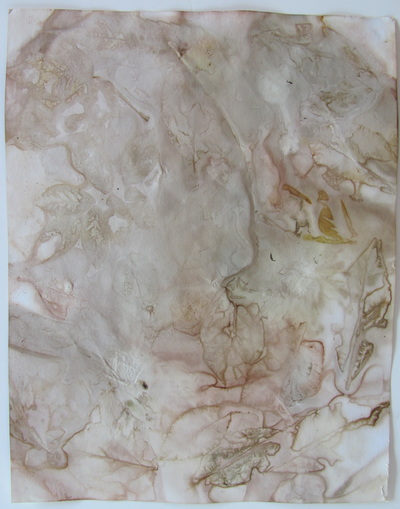
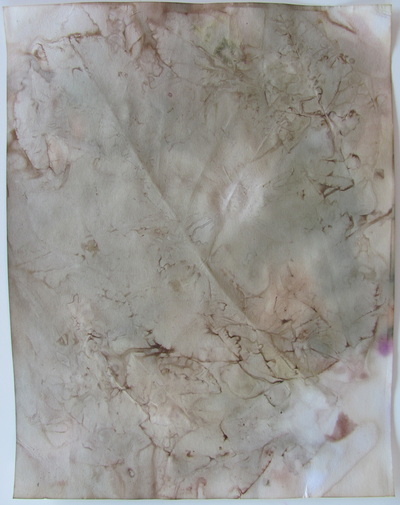
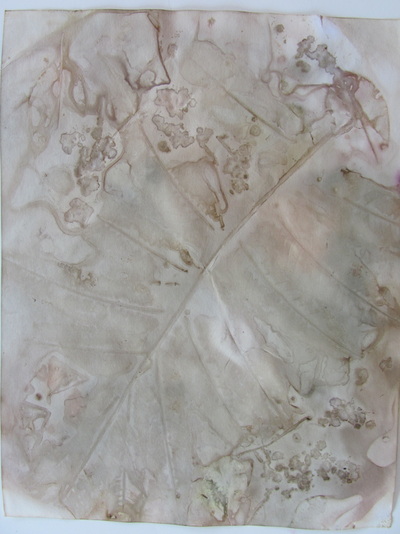
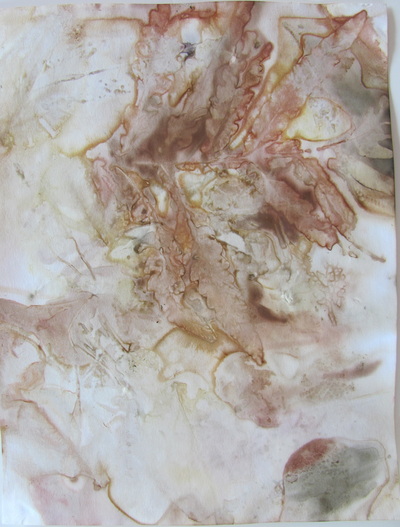
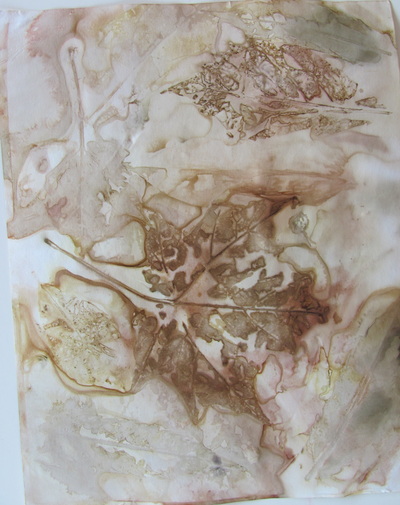
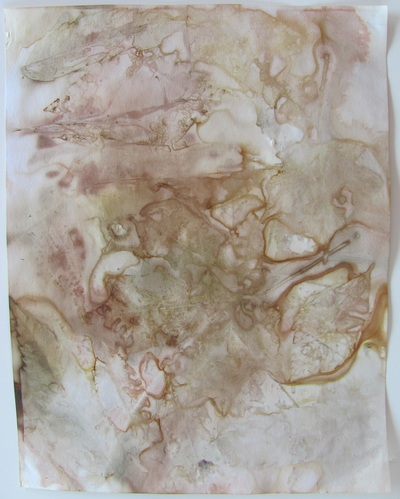
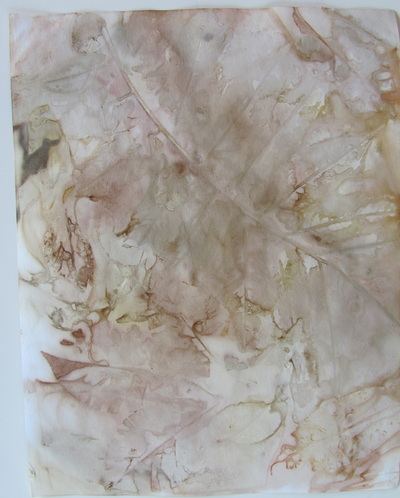
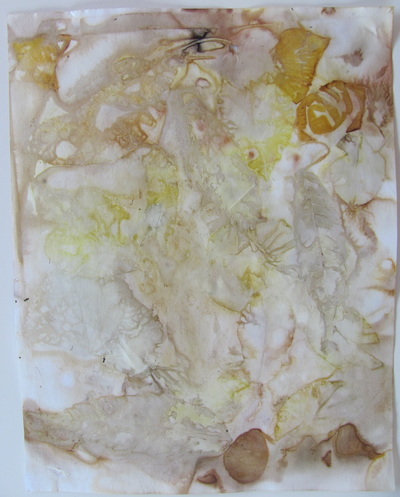
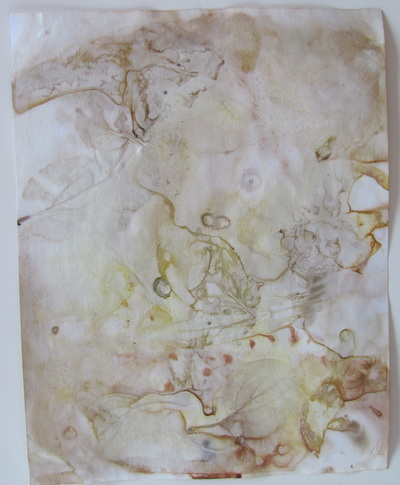
I made up a new batch of Eco Papers last week. I used a lot of red leaves that I collected from under a neighbor's tree. Most of this batch have a lovely pink color with some browns and greens interspersed. They have imprints and impressions from leaves that fell this autumn. If you click on a photo you will be able to see the larger version. Have a great week,
Janelle
0 Comments
I made papers last weekend that have eco prints on them. They have the impressions and colors and some embossing from leaves and flowers on them. The papers have a wide number of colors depending on how aged the leaf was and what color came out of the leaf or flower. The leaves that were partially decayed, but not completely dried out and brittle made the darkest images. Some of the fresh leaves and herbs that I used made bright green images. This is a process that involves some mystery and surprise and is very satisfying. I am selling my eco papers for $1.50 a sheet or 10 for $10.00. They are printed on both sides and are made from 90lb cardstock. They would make lovely cards, beautiful handwritten notes and letters, or you can take pieces of the papers and make special tags for gifts. The possibilities are endless really. These aren't pristine papers they are a bit rough and aged and imbued with the essence of autumn. Here is how I made them. I started out with 90lb cardstock. I soaked the papers in a plastic washtub in a solution of alum and soda ash for an hour. I also soaked the leaves and flowers in a tub of water for an hour. Then I layered paper and leaves in an old pressure cooker pot over a contraption that I made from old pieces of metal that I had saved to use for some unknown purpose at the time. Now I'm really glad that I saved them. I used a metal shower basket on the bottom with an old griddle type piece that has holes in it on top of the basket. That way I have a flat surface for the papers to lay on. I kept stacking paper and leaves until I had used up all the paper that I had prepared. I added another griddle piece to the top of the stack to weigh it down, so that the flora was in close contact with the paper. I added water to the bottom of the pot, added a lid, and steamed the papers for three hours. When it was done I left it to cool completely through the night and opened it the next day. I removed the plant matter and laid the papers out to dry. After they were dry I ironed them flat. Here they are, each piece of paper has a different print on each side. There are fifteen papers in this bunch. You can click on the photos to get a closer view. I hope that you enjoyed learning a bit about eco papers. Please comment on this post and let me know how you would use these papers and if you have ever tried making these.
Janelle |
 Serenity Cabin(URL HIDDEN) AK, United States Modern cabin in Alaska wooded setting. Warm and comfortable with a full bath, kitchenette, and loft. Twin over full sized bunk bed. Access to carport and space for larger vehicles. Only minutes... Janelle MarksI have a loving husband who thinks I'm a bit crazy to be so obsessed with art. I am a mother of five children from ages 21 to 5. I spend most of my time mothering and keeping house. In my free time I like to play with textiles, art journaling and painting. I have a degree in textile and apparel studies with a design focus. Right now I am more interested in fiber arts than apparel design, but I don't know where my journey will take me. Categories
All
Archives
April 2019
Check out my husband's website. He is a writer and has written about our life and many other amusing stories. |
