Janelle
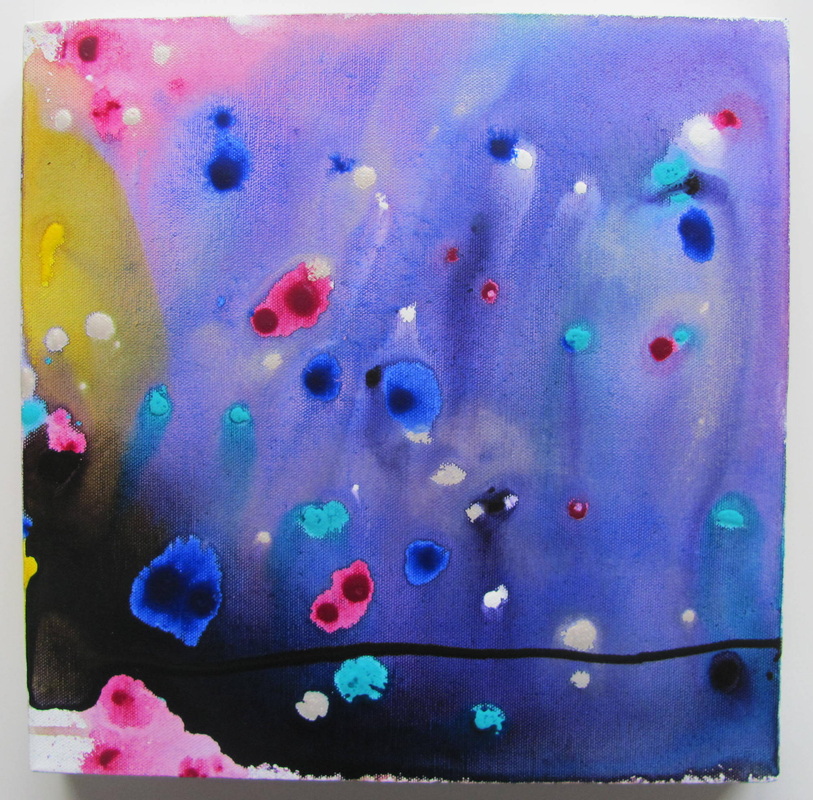
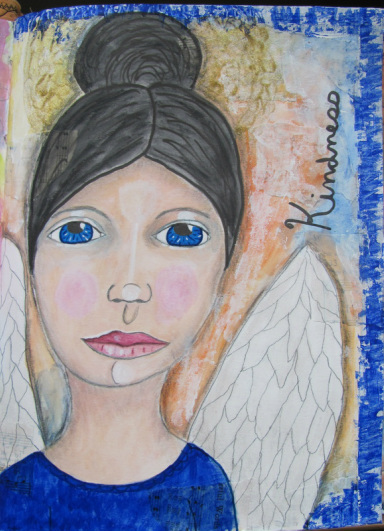
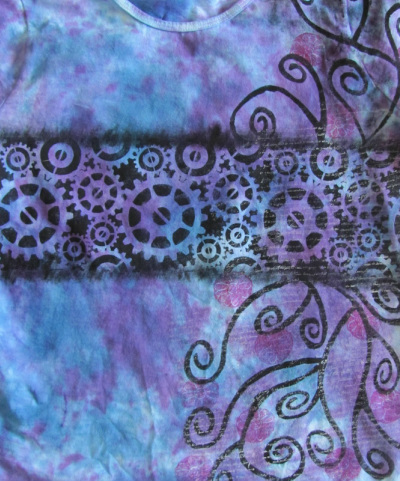
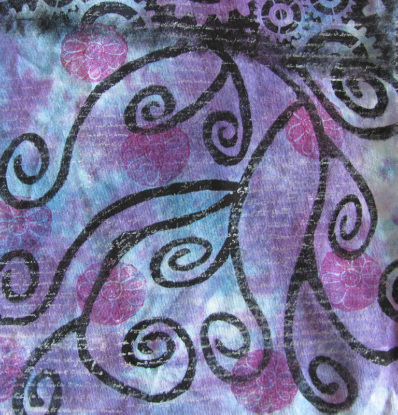
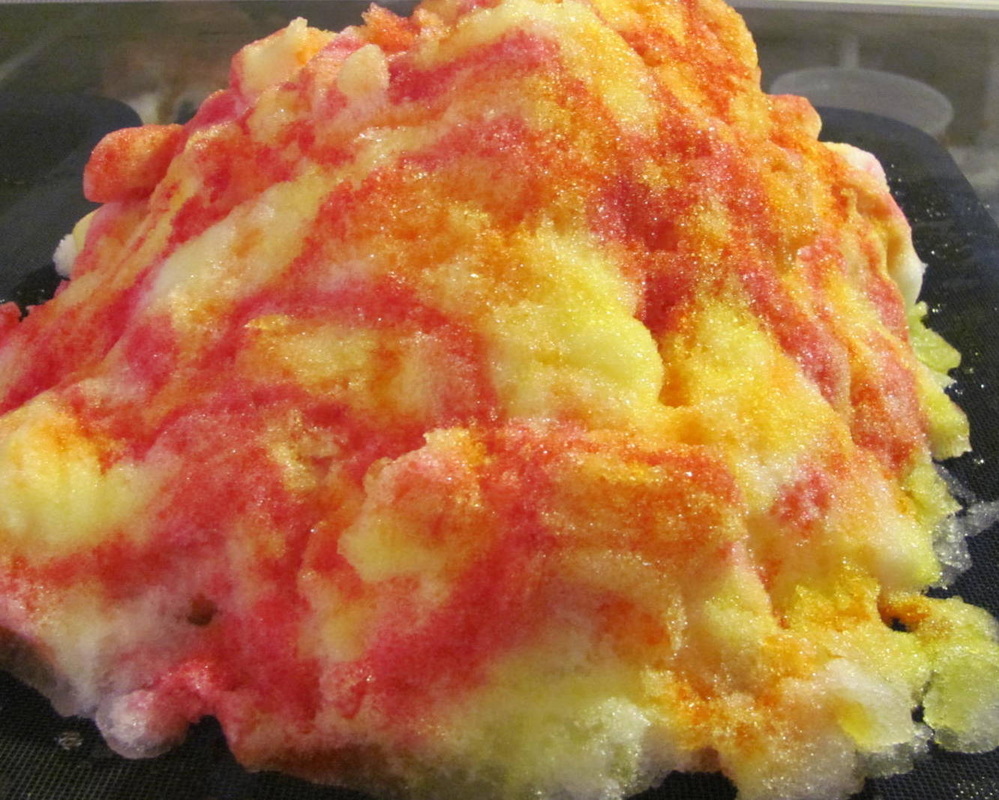
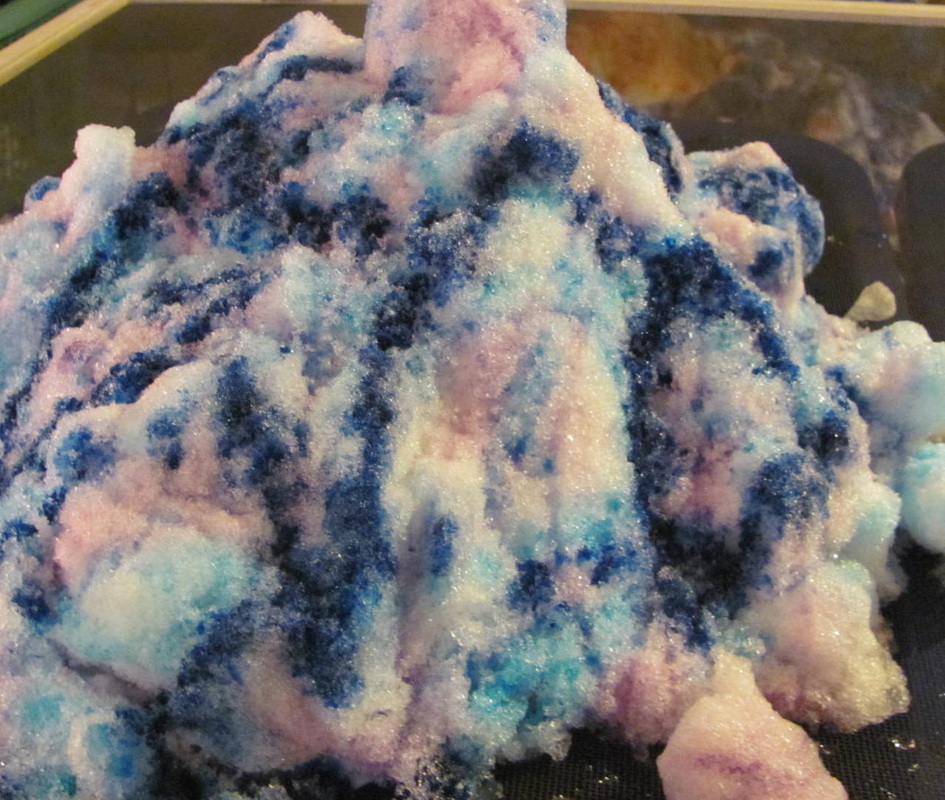
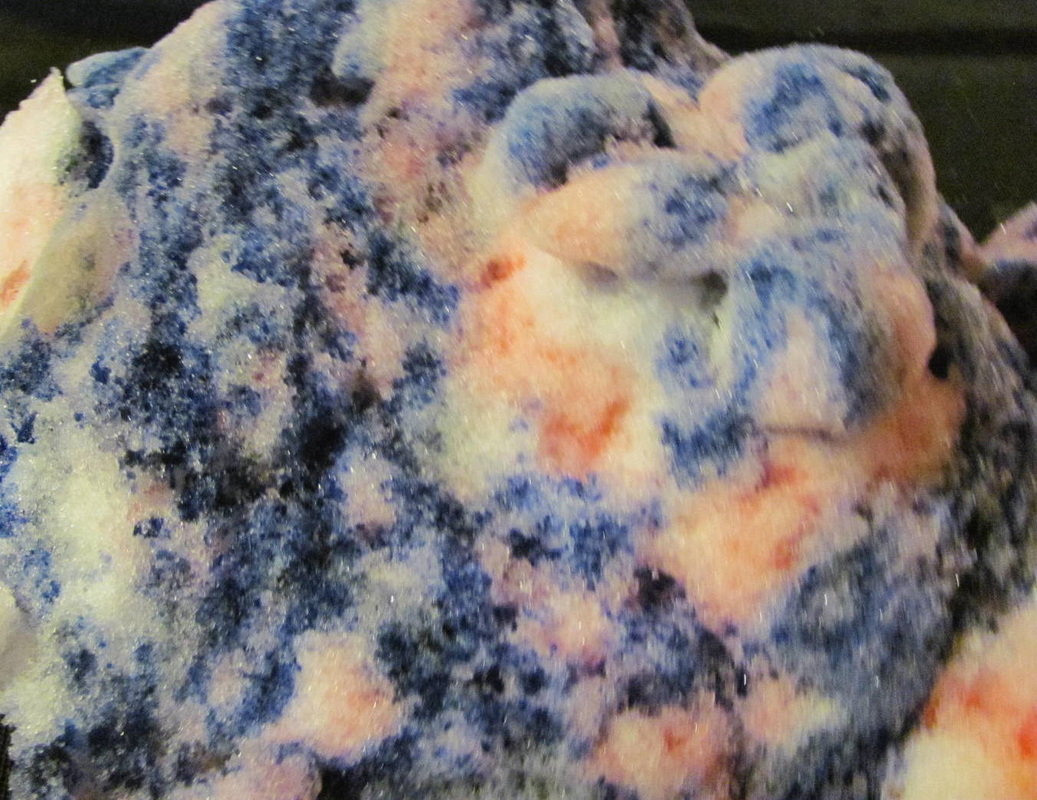
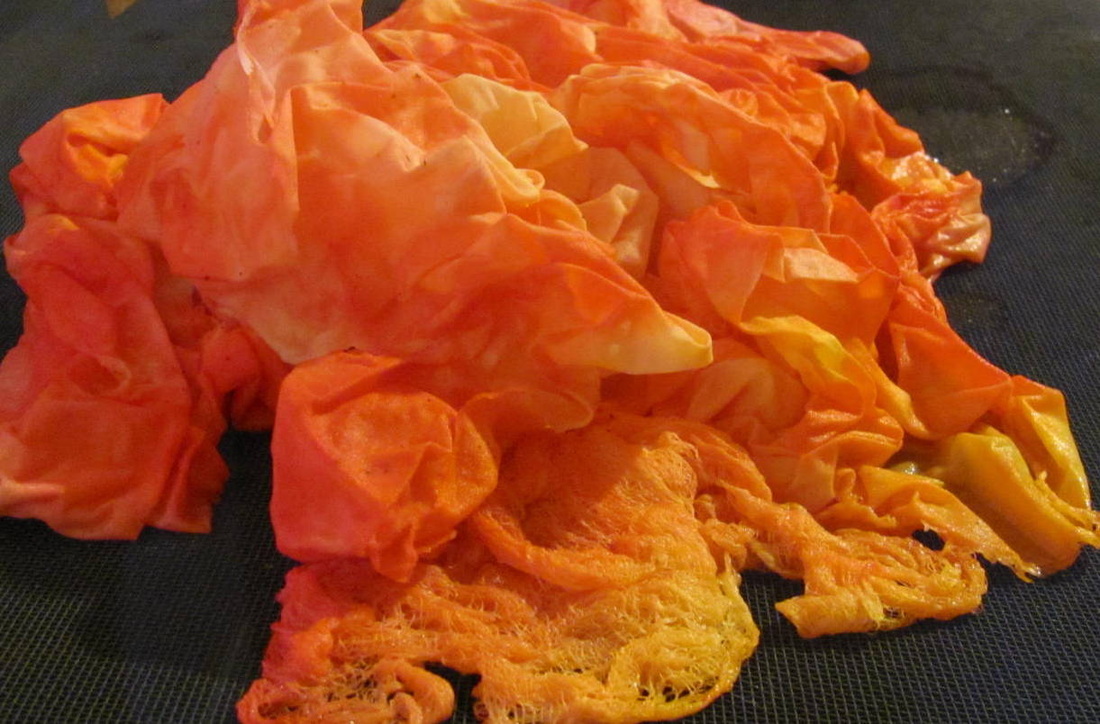
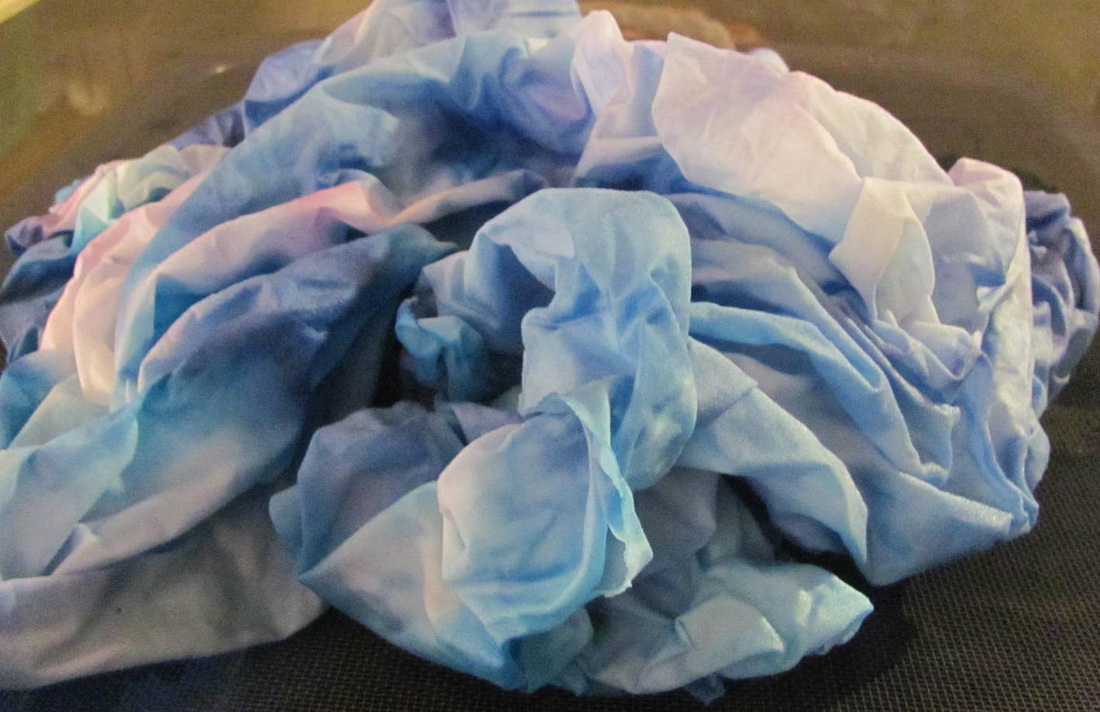
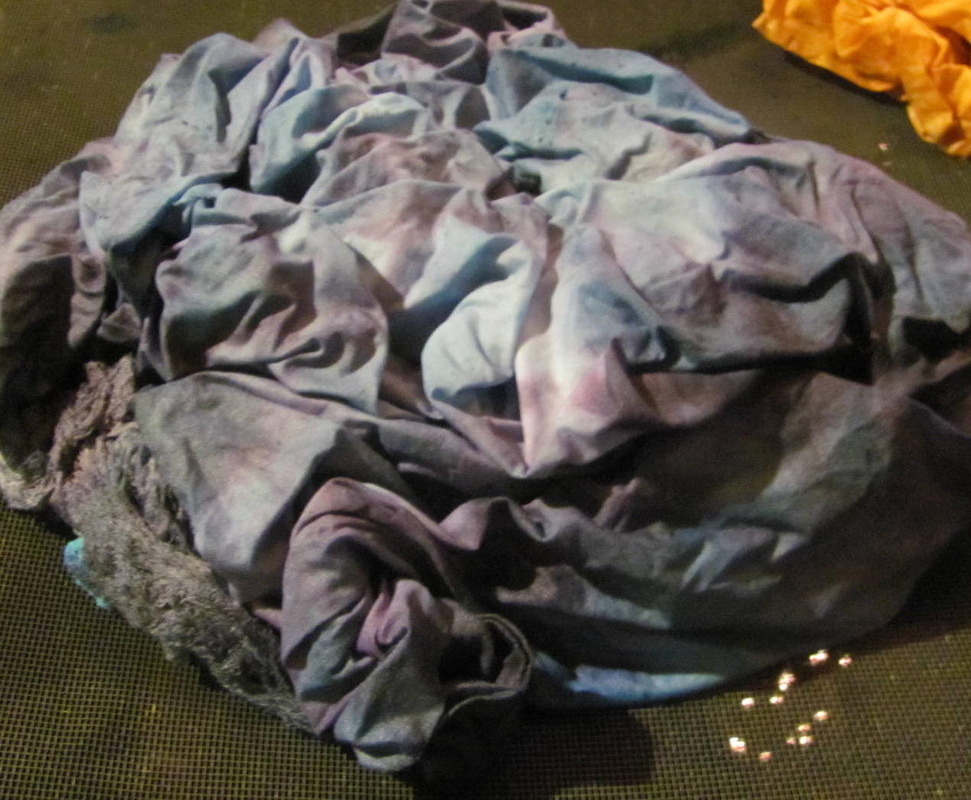
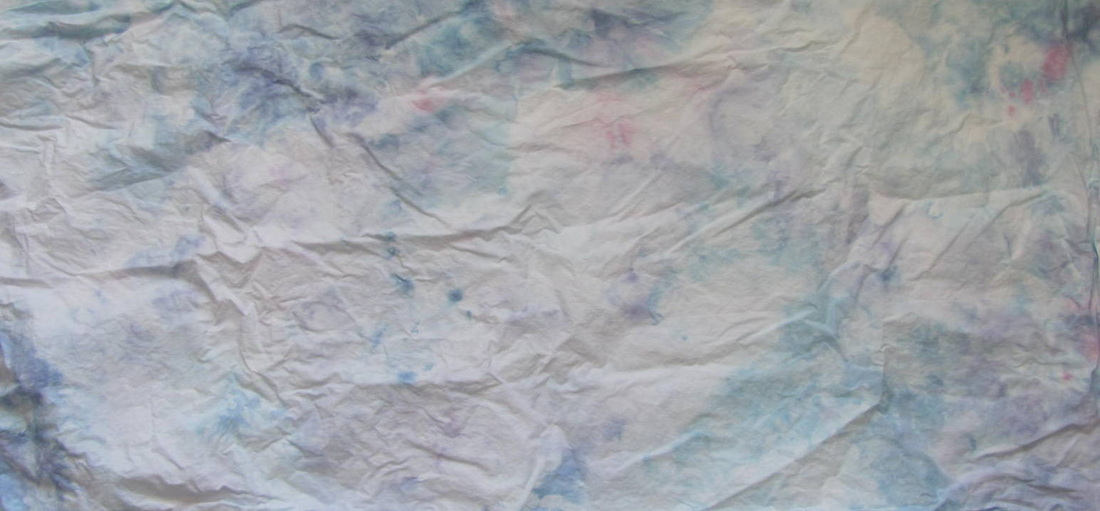
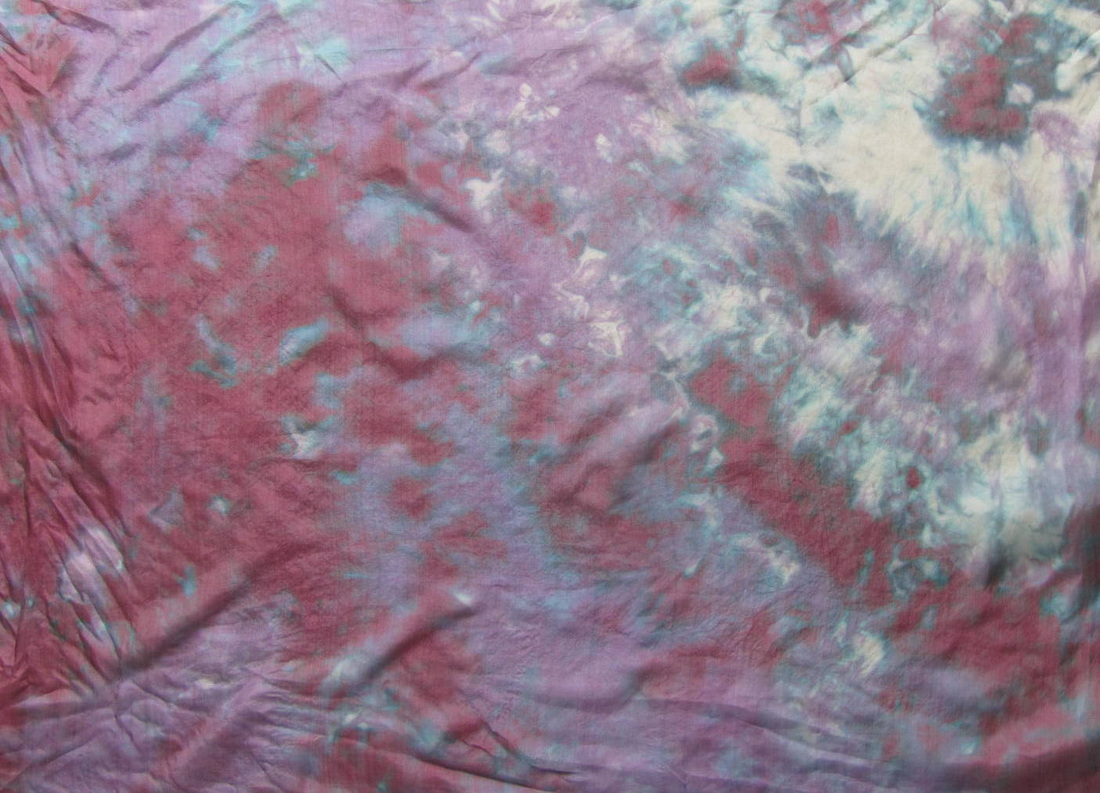
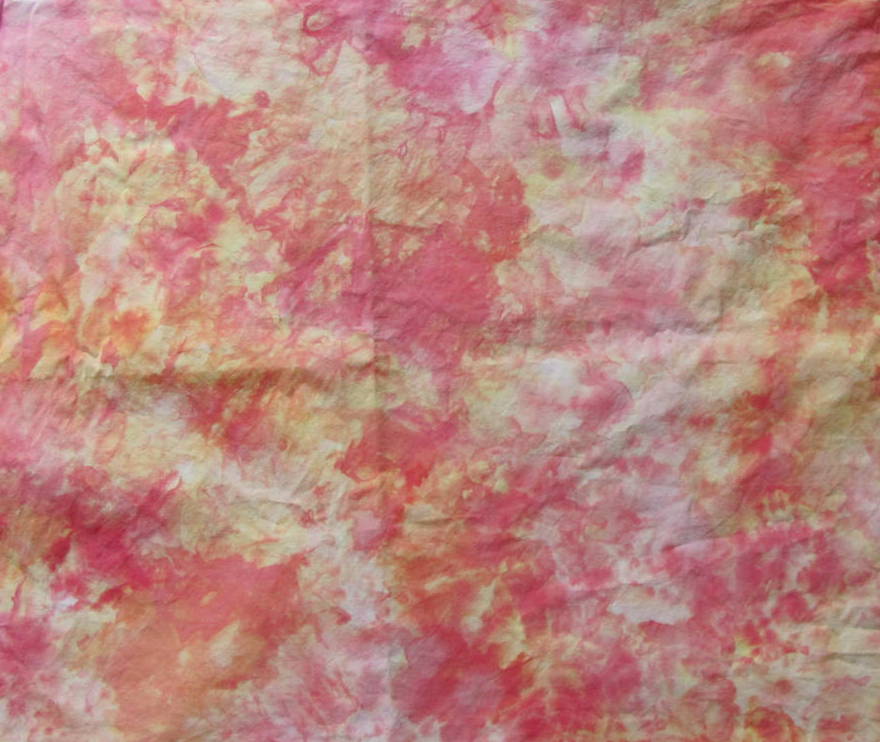
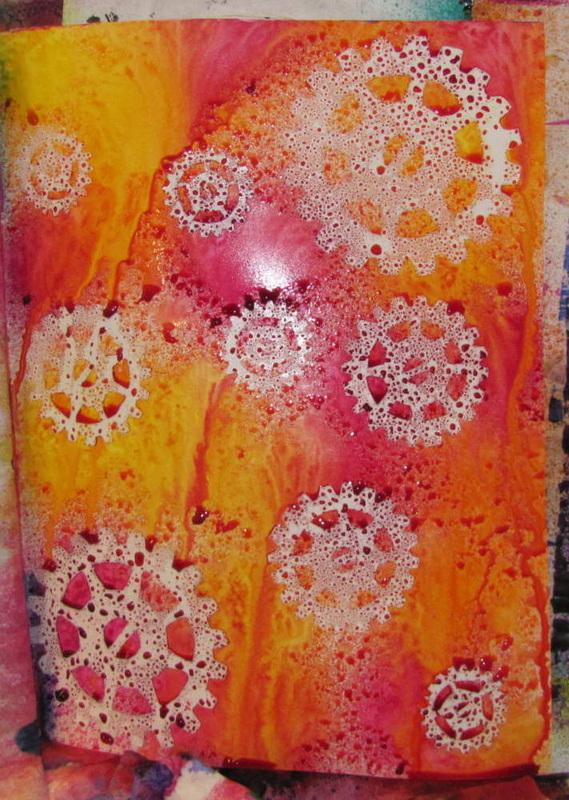
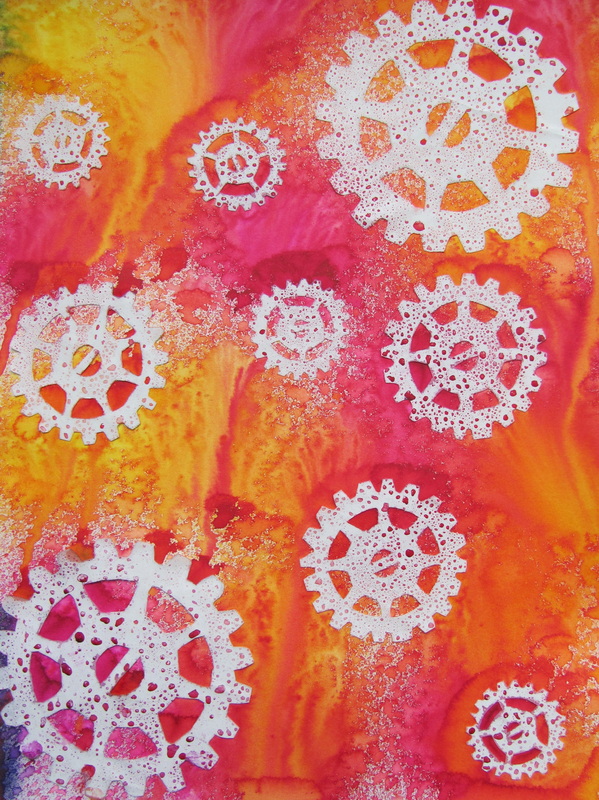
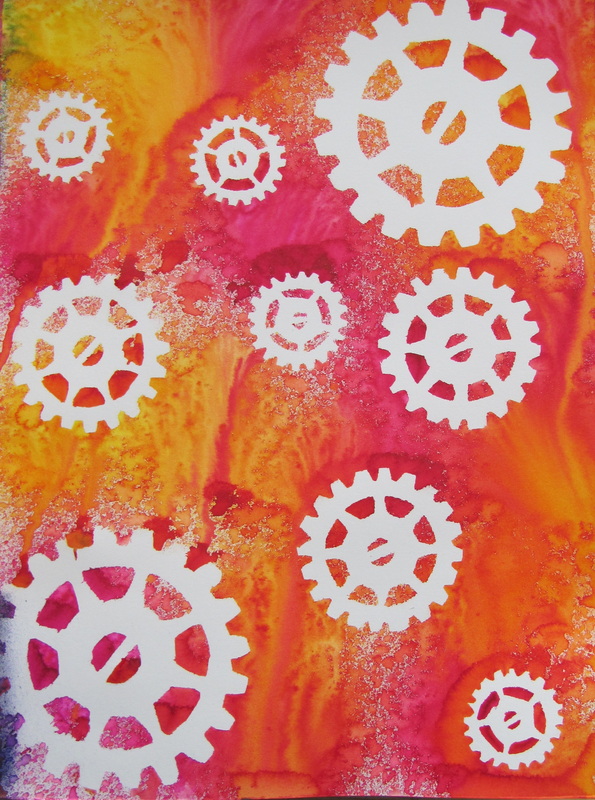
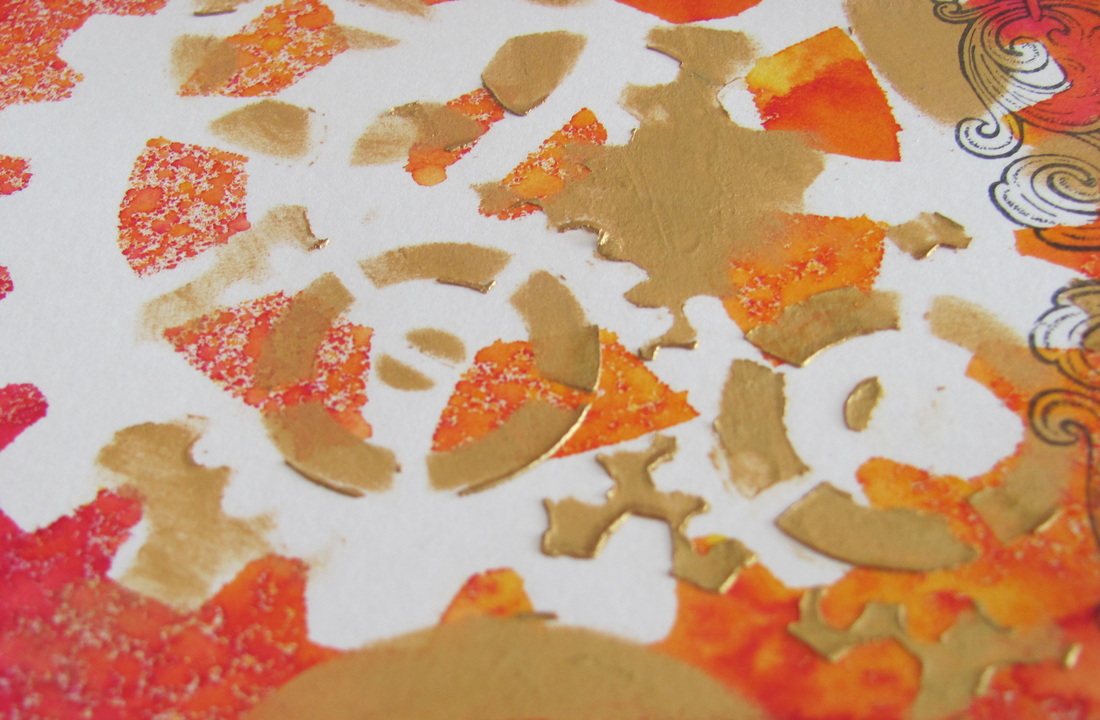
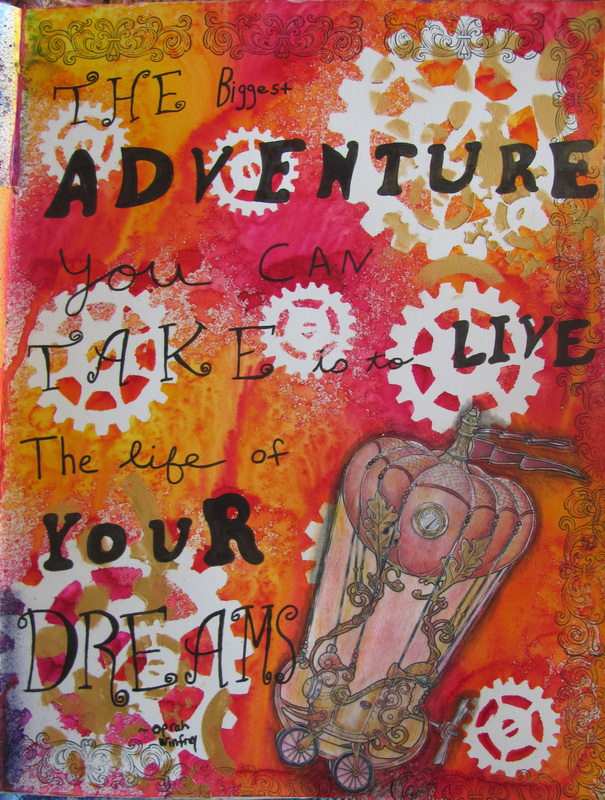
I finished all of the background layers of this painting over the weekend. It is complex and a bit chaotic, which is like me. I have made a few other paintings in this style and have one more still in progress that I hope to finish by this summer. I am drawn to create paintings that are full of personal symbols, colors, and words. Even if most of these elements are covered up in the final painting they are still embedded into the painting. Part of my soul will travel with it wherever it goes. I hope that you enjoy this peak into my process. 
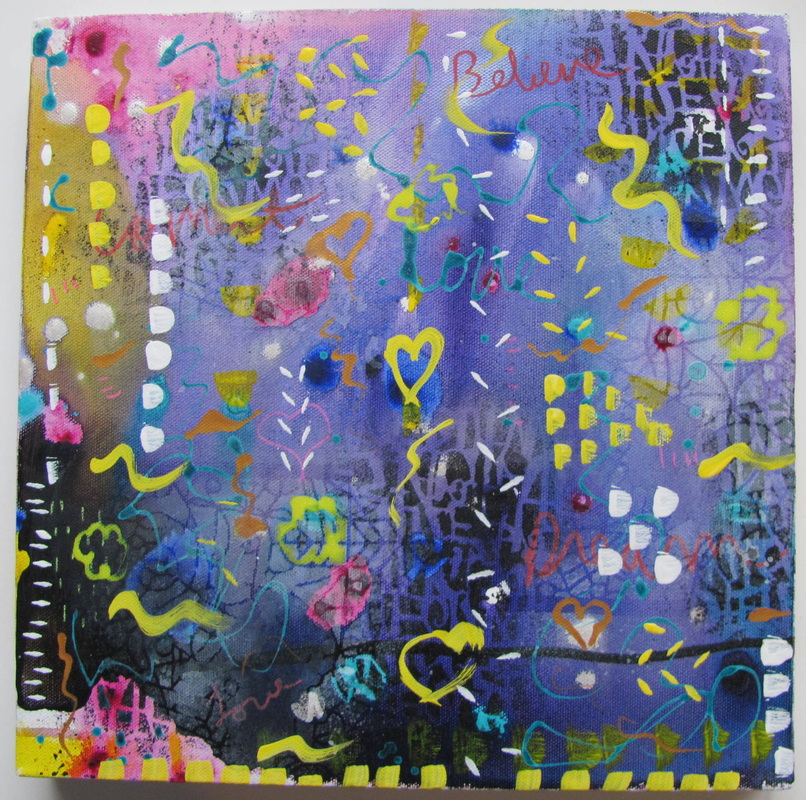
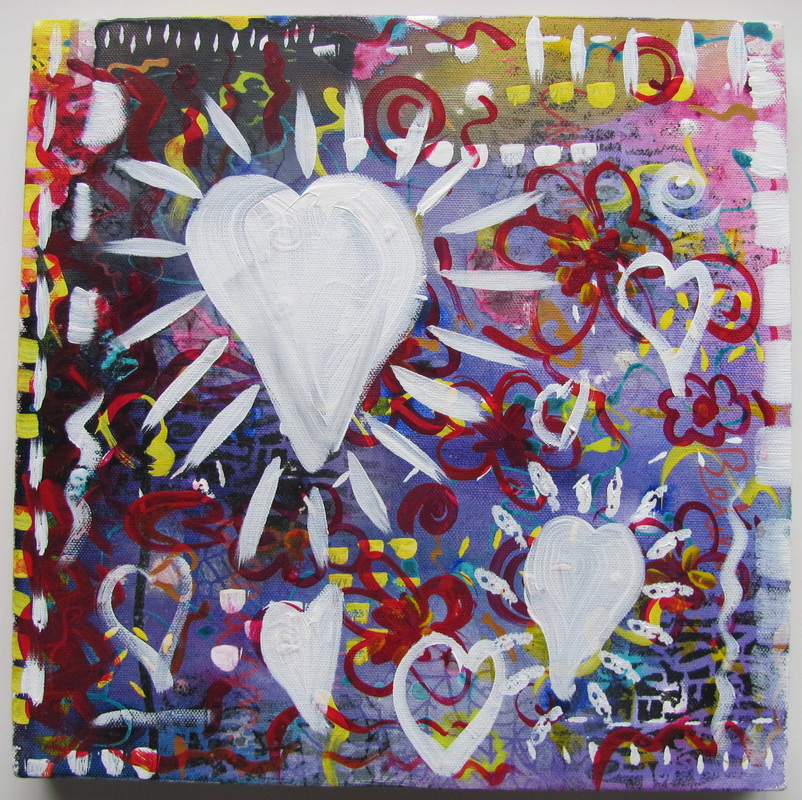
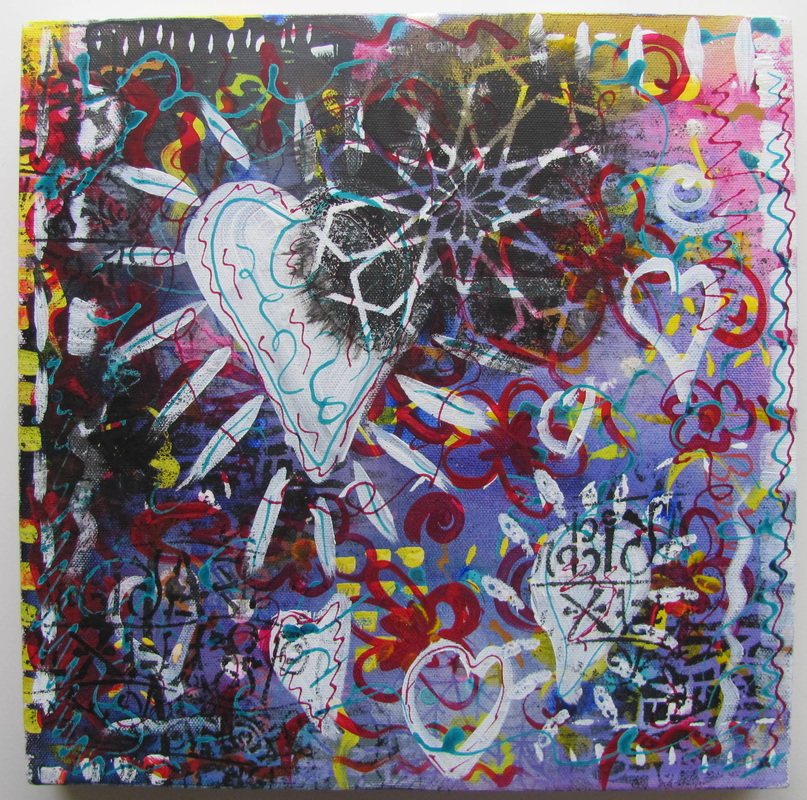
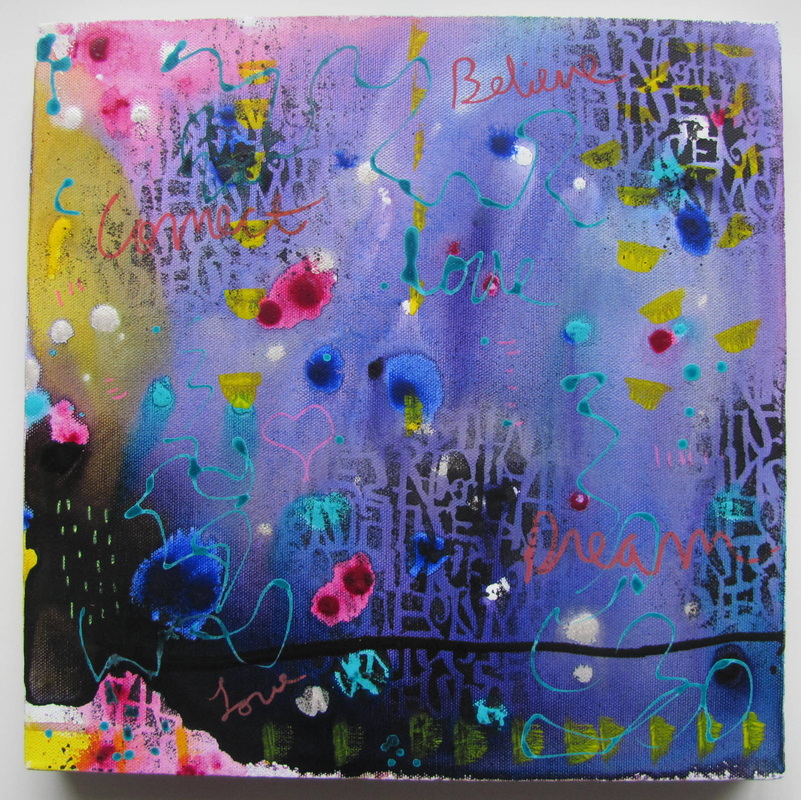
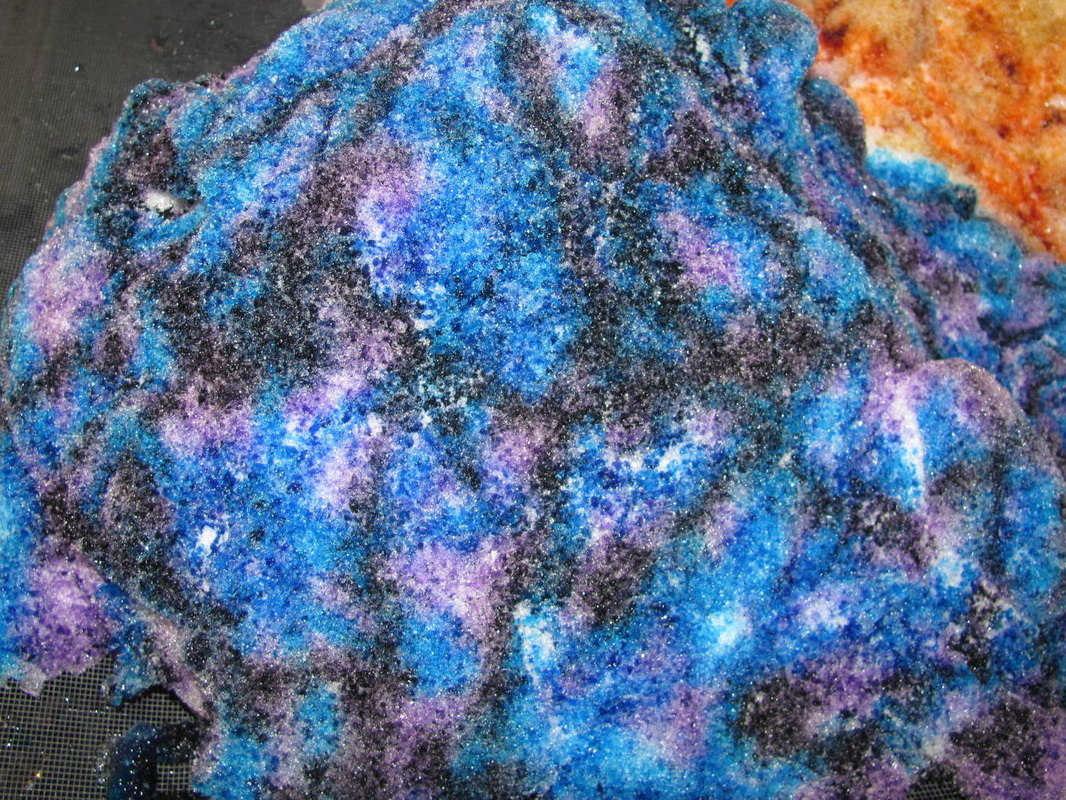
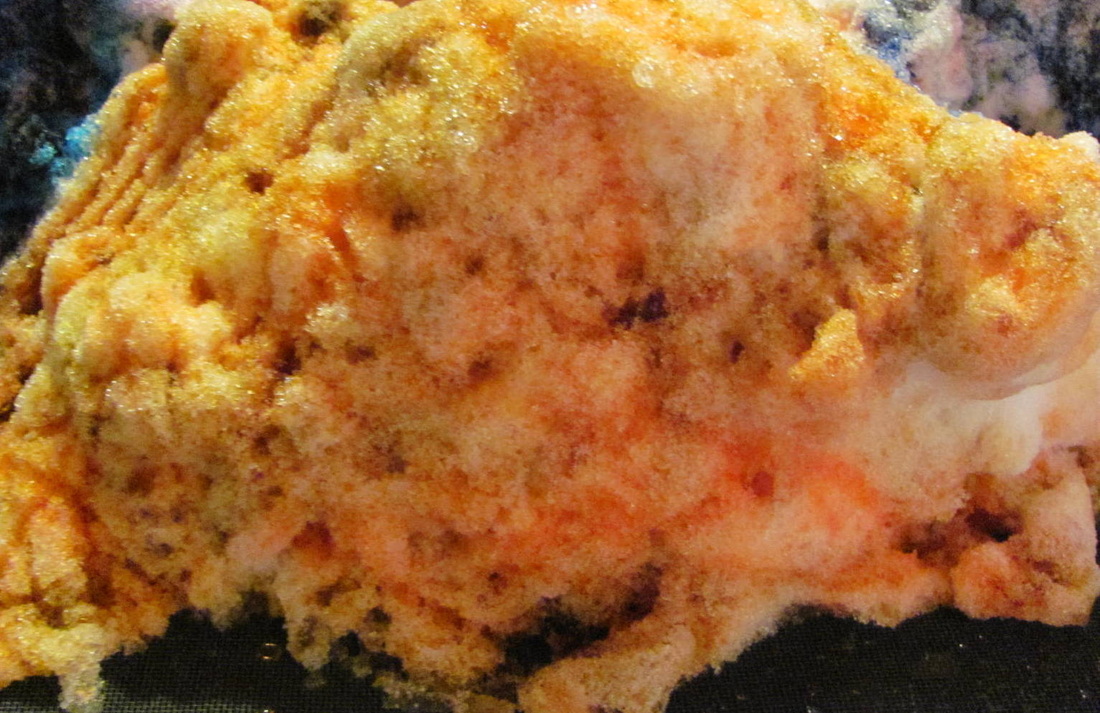
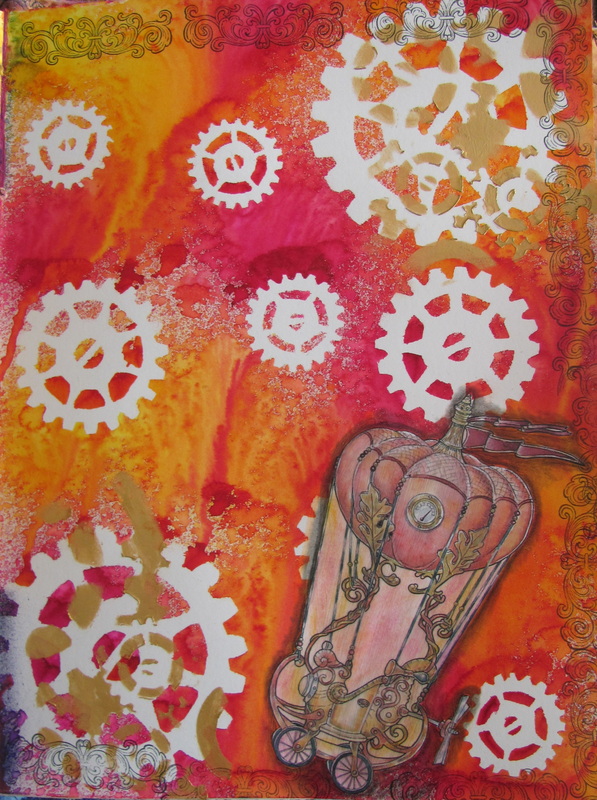
I have already started the final focal layers which I will share with you soon. I aim for this painting to be whimsical and happy, but not overly bright. Check back soon to keep up with my progress.
Janelle
0 Comments
I watched a video of Donna Downey painting an abstract painting and was inspired to do the same. I'm not trying to copy her painting, just the general feeling of windows peeking into another world. I am drawn to this style of painting and love to create my own abstracts. I started with paint swirling in water on my canvas and let that dry for my first layer. I didn't water down all the paint and let some intense areas remain on the canvas. (Someday I want to try the Golden high flow acrylics for this kind of painting.) After the first layer was dry I added another layer using fluid acrylic paint, acrylic spray paint through a stencil, watered down acrylic paint in a thin tipped bottle, and Sharpie paint markers. I want to add layers upon layers until I have a complex and interesting background. I have already added another layer, but I will have to share that later after the paint dries.
Keep checking back to see the progress of this painting. Feel free to comment and tell me what you like about it. What is your favorite style of painting? Janelle Along with the textile art and dying fabric that I have been telling you about, I also love mixed media art. I love mixing watercolors, acrylics, inks, collage, etc. I often use all of these on a single piece of art. I find it interesting to push traditional boundaries and to experiment with different mediums and techniques. This side is the same side of me who likes to experiment in the kitchen and often doesn't use a recipe. It is also the side of me that loves science experiments and finding out what will happen if I do "that". If I create a piece of art that is pretty or tells a story during my experimenting I feel fulfilled. If I create something ugly or hated that is okay too, because that is the only way to learn. After all it is only art supplies, not something irreplaceable. I hope that I can encourage those of you who enjoy creating to push boundaries too and find out what will happen and how you love to create. Please feel free to share your results and your great creative loves with me. I share a few of my recent pieces with you. I hope that you enjoyed this small sample of my mixed media art. Please share your creative outlets with me. What do you enjoy doing and how do you push boundaries?
Janelle "Dreaming" the whole cloth quilt that I made last fall is now on display at a local museum. It is in Ella Sharp museum on the wall of art next to the community room. If you live in the area please go and take a look. There are many wonderful pieces of art on the wall along with mine, from members of the Jackson Civic Art Association. This quilt transports you back to childhood to explore the world of daydreams. The girl is dreaming about who she could be. Where will you allow your dreams to take you?
This quilt is 15” X 33”. It is a whole cloth cotton quilt that was hand painted. After the first layer of painting was done it was heavily quilted to bring out the details. Then it was painted with metallic paint to add accents to certain parts. The edges are finished with a satin stitch. It is ready to hang from a dowel or rod by a hanging sleeve on the back. This art quilt is $260.00. I am quite excited to have this quilt hanging in a public venue. Thanks for sharing this moment with me. Janelle A couple of weeks ago I dyed a lot of fabric and trims. I had a couple of t-shirts and a baby bunting laying around that were ready to dye, so I decided to dye them too. After they were dyed I thought that it would be fun to add some stenciling and make these fun to wear. Now, when I know someone who has a baby girl, I have a gift to give that will be all ready to go. I also have a couple of colorful t-shirts to wear when it finally gets warm where I live. I stenciled Tam's Butterfly Wings and Flower Garden onto the baby bunting. These were perfect for a sweet baby girl. I used the Tumbling Pods stencil to add a design across the pink and blue t-shirt. I stenciled with white fabric paint. I love how the white design shows off the colors. I added more layers to the last t-shirt. I started with the Apparatus stencil and black paint. I made a strip across the shirt and feathered out the black paint along the edges. I added some more stenciling using black paint along one side. After these layers dried I used a script stamp and white paint to add some visual texture. I hope you enjoyed my mini tutorial and have a great week.
Janelle Last week I showed you some fabric and other bits and pieces that I dyed. This week I want to show you a few quilts that I made using my hand dyed fabric. Along with some other ways that I use the fabric that I dye. The first four are quilts that I made using my dyed fabric. I love using fabric that I dyed for these quilts, so that I can get the exact colors that I want. I also like making things that make everyday life a little prettier. I used hand dyed fabric for these too. I also love making bracelets with a shabby chic look. I used a lot of hand dyed fabric in all of these. The bottom bracelets also have charms or jewelry that was broken, that I reused. As you can see I love to make many different things with my hand dyed fabric. What is your favorite? If you would, please describe what I make in three words or less. I need some help with my homework for my business class. I would appreciate all your comments. I also love making things for you and would love to hear what you would like to see more of, or any new ideas that would make you happy. Thanks for reading and viewing my photos,
Janelle Last week my daughter and I dyed a lot of fabric all at the same time. I like to make stockpiles of fabric that I can use for a long time to create textile art. Since it is still really snowy where I live, I snow dyed some of the fabric. Snow dyeing creates wonderful patterns on the fabric and the colors end up being more pastel too. I dyed cotton fabric and cheesecloth using snow dyeing. I also dyed silk fabric, silk and rayon ribbon, lace, and thread. I chose some colorways and used the same ones to dye a variety of materials. That way I have coordinating supplies to use. I started out with a pile of stuff to dye. I first mix up all the dyes with the chemicals that I want to use this time. Here I have all my dyes mixed and in their own bottles. Before I can dye the fabric I soak each piece in a mixture of soda ash and water. The soda ash allows the dye to bond to the fibers and become permanent. Then I loosely scrunch up each piece that I am dyeing. You can use many types of folds, but here I didn't fold the fabric. I wanted a more organic pattern this time. For the snow dyeing I placed the fabric on a screen over a tub, so that the melted snow and dye don't pool around the fabric. I placed the regularly dyed items in containers with lids. My daughter brought in the snow and piled it on top of the fabric until each pile was covered. Then I squirted the dye onto the snow. I used three colors on each pile. I wear old clothes and gloves because the dye will stain everything. I cover the other pieces the same way, minus the snow. Here are all the snow piles with dye on top. I cover these with old plastic bags and let them sit overnight. Here are all the fabric piles the next morning before I rinsed off the extra dye. This is the rest of the stuff that I dyed sitting in the tubs soaking to get off all the extra dye. I rinse everything with cool water and then I soak them in cool water. Then I do the same thing with hot water and a detergent to get off all the extra dye. The dye does bond to the fiber, but there is always more dye than could bond that has to be washed off. It takes several wash cycles to get the fabric all washed out. The more delicate fibers I hand wash. I try and use as little water as I can, so that I'm not wasting water at all. The soaking helps to get the dye out without having to keep the fabric under running water the whole time. Here is all the snow dyed cotton and cheesecloth from this round of dyeing. I hadn't ironed the fabric yet in these pictures. Some of the pieces came out really pale, so I may over-dye them to get more color into the fabric. Here is all the silk fabric and ribbons that I dyed. Since I didn't use snow on top of these the colors came out a little more vibrant. Here are all the threads, laces, and rayon ribbons that I dyed. I hope that I didn't bore you too much with my dyeing post. I love fabric dyeing. Seeing how each piece turns out when it is all washed is exciting to me. If you have any questions I will do my best to answer them. Keep watching to see when these pieces turn up in my textile art.
Thanks, Janelle Last week I talked about my college years and my textile & apparel degree. I decided to explore textiles more for my business and only design and make clothes for fun. I enjoy making costumes and an occasional dress or skirt, but my passion was to explore surface design and making textile art. I enjoy designing fabrics through dyeing and printing using different methods to make unique pieces of fabric. Then I use these fabrics to make textile art. When you dye a piece of fabric you can control the colors and somewhat the patterning and make a beautiful piece of fabric that wasn't bought in a store. This is part of a piece of cotton that I snow dyed last week using yellow, orange, and fuchsia dyes. Snow dyeing creates patterns as the melting snow moves the dye through the fabric. I will write a post all about the dyeing that I did last week soon. I will give you more details about dyeing in that post. I also dyed some silk fabric and ribbon, lace, cheesecloth, rayon ribbon, and cotton embroidery thread all in the same colors. The cotton and cheesecloth were snow dyed. Everything else was just dyed normally. The snow dyeing creates more pastel colors than the regular method. I will have many materials to choose from that all coordinate when I am working on a textile piece. I love having custom designed materials to work with. Dyeing is only one method of creating colors and patterns on fabric. I also use many more methods that I will talk about in another post. What is one type of design that you either enjoy looking at in other people's art, or that you use in your own art? We all have art that appeals to us whether painting, the written word, quilting, interior design, or something more specific even. I would love to hear from you about what sparks your creative juices. I hope that you can be creative and have a wonderful week.
Until next time, Janelle Last week I told you about how I decided to go to college in Alaska. I started as a Biology major, but quickly realized that while I loved animals I didn't like memorizing all those facts. I didn't enjoy the nuts and bolts of being a scientist. As motherhood became more time consuming I took some time off from college to concentrate on my kids. I took care of my girls while my husband finished his degree. After he got his degree, we also moved to Michigan where he was from. I worked and he finished up getting his teaching degree and started teaching high school. After our girls were older and my baby boy was not so tiny, I decided to go back to college. This time I entered a degree program in textiles and apparel. I had always enjoyed sewing and watching my grandmother sew as a child. I had been spending more of my time sewing for me and my kids and learning how to dye fabric. I thought that this program sounded really interesting and I wanted to expand my knowledge and skills. I really enjoyed learning everything that went along with my degree. I loved learning design principles, art, pattern making, textiles, sewing, how to make a visual statement, and much more. This degree led me to where I am today. I love textiles and the tactile senses and touchable texture that they involve. I also love experimenting with surface design, dyeing, and art materials. My curiosity and love of experimentation from when I was a biology major transferred over to my art today. It is interesting how our lives change and how everything that we experience builds up to make us the person who we are today. We all have layers and interesting stories to tell. I love hearing your stories too. If you would like to share with me I would love to hear from you.
For those of you who don't know I have been a member of Artistcellar's design team for the last six months. This is my last project for them. I'm thankful for my time as a design team member at Artistcellar. I have learned a lot and I'm grateful for the push to make a new piece every week. It has been an adventure and a pleasure to use these wonderful art supplies and marvelous stencils. Thank you Artistcellar! For my last post I made a journal page using Dylusions. These ink sprays are so full of bright color that I love using them. I started by taking select parts of the Apparatus stencil and tracing them onto freezer paper. Then I cut out all the gears that I traced. I sprayed the non-glossy side of the freezer paper with a temporary spray adhesive. Then I arranged them onto my journal page and made sure that they were sticking down. I sat my journal upright and sprayed Funky Fuschia, Lemon Zest, and Squeezed Orange Dylusions Sprays onto the page. I also spritzed it with some water to make sure the ink dripped and ran together. I put paper towels under the page to catch the excess. I let the ink dry completely with my journal upright. I removed the freezer paper templates. This is a great way to use the stencils as a mask. Next I found a steampunk image and cut it out. I added some chalk pastels in the same color scheme in the white spaces and blended them with my fingers. I wanted the background of the image to blend with the rest of the page. I fixed the pastels with spray fixative. After that was dry I glued down the image and let it dry. I used a black Stabilo pencil to add a shadow around the image to get it to pop off of the page better. I also used a stamp to add a border around my page. I used the same Apparatus stencil and some Inka Gold to add some more gears to my page. I found this quote by Oprah Winfrey and added it to my journal page with my Pitt pens for the finishing touch. "The Biggest Adventure You Can Take Is To Live The Life Of Your Dreams." I hope that you all can live the life of your dreams and have a grand adventure. I will be posting regularly here with all kinds of new projects that I'm dreaming up.
Janelle |
![]() Serenity Cabin(URL HIDDEN) AK, United States Modern cabin in Alaska wooded setting. Warm and comfortable with a full bath, kitchenette, and loft. Twin over full sized bunk bed. Access to carport and space for larger vehicles. Only minutes... Janelle MarksI have a loving husband who thinks I'm a bit crazy to be so obsessed with art. I am a mother of five children from ages 21 to 5. I spend most of my time mothering and keeping house. In my free time I like to play with textiles, art journaling and painting. I have a degree in textile and apparel studies with a design focus. Right now I am more interested in fiber arts than apparel design, but I don't know where my journey will take me. Categories
All
Archives
April 2019
Check out my husband's website. He is a writer and has written about our life and many other amusing stories. |