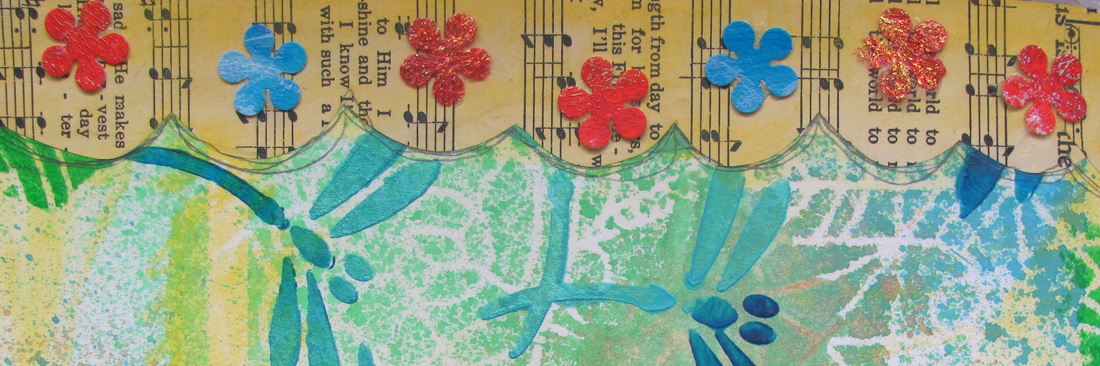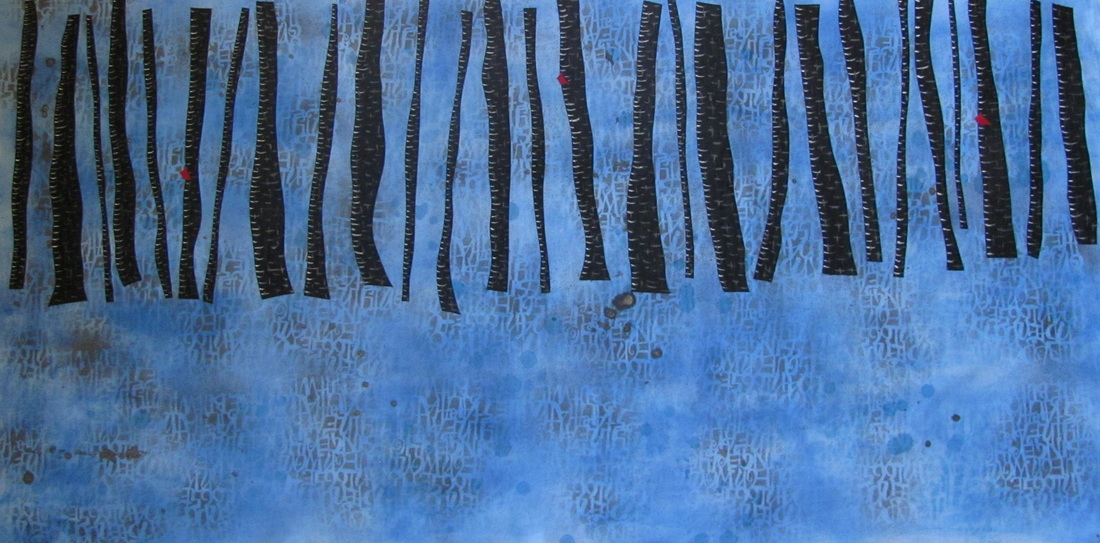
Merry Christmas and Happy New Year. I hope that everyone is having a great week and celebrating life with your family. I decided to make a bright and colorful prayer flag so that I would be reminded of the Joy of the holiday season all year long.
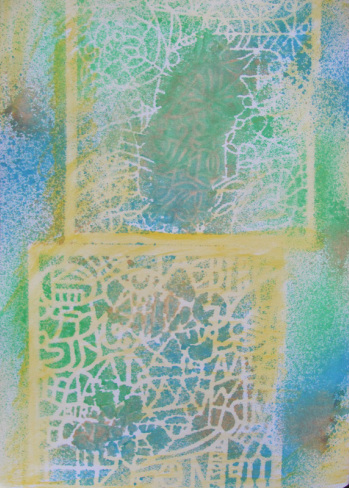
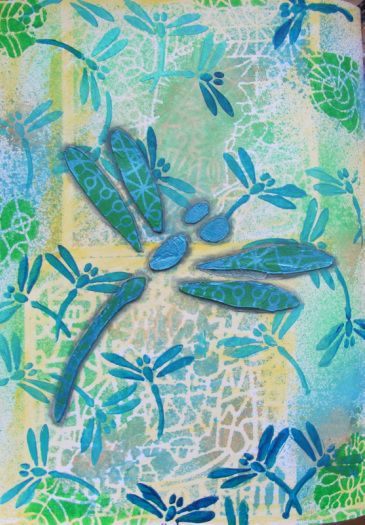
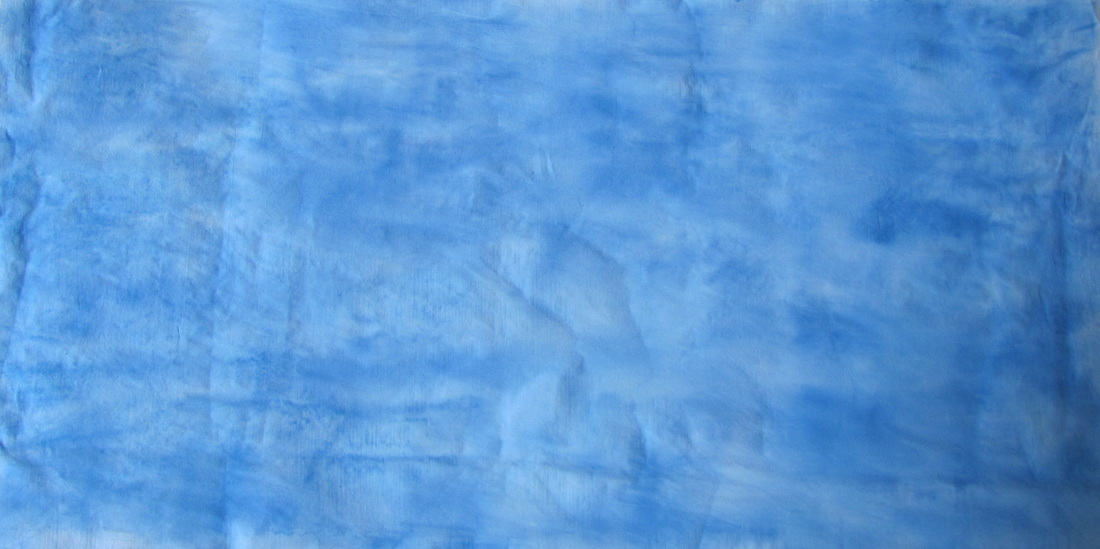
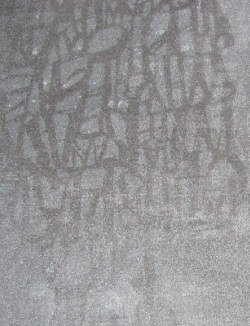
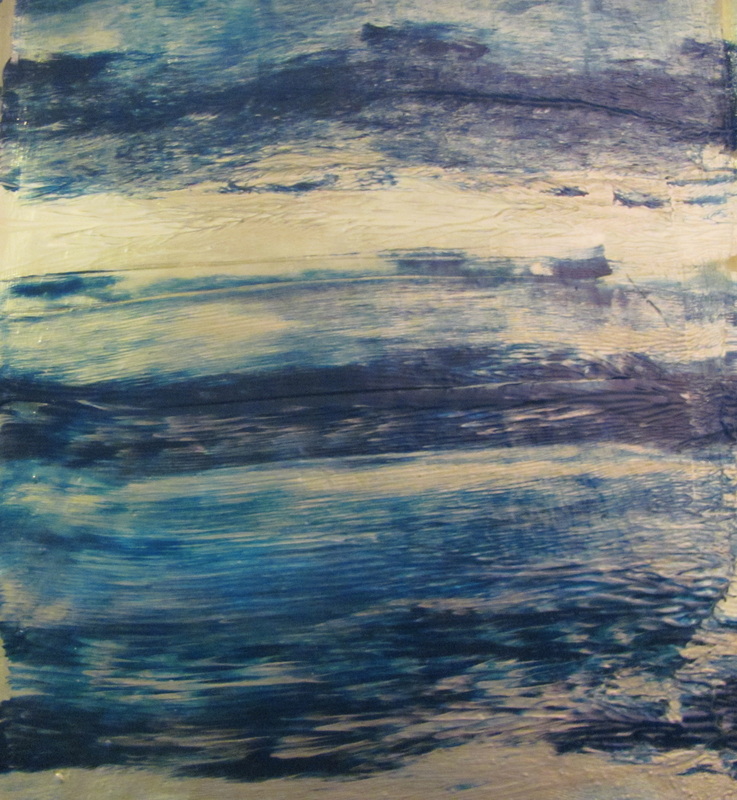
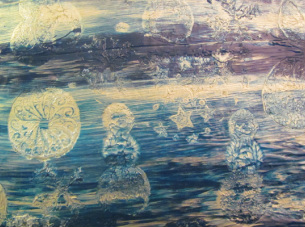
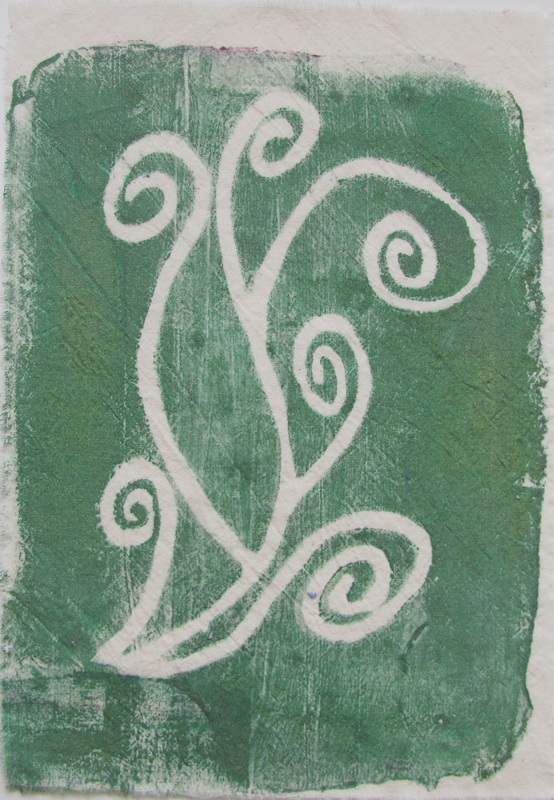
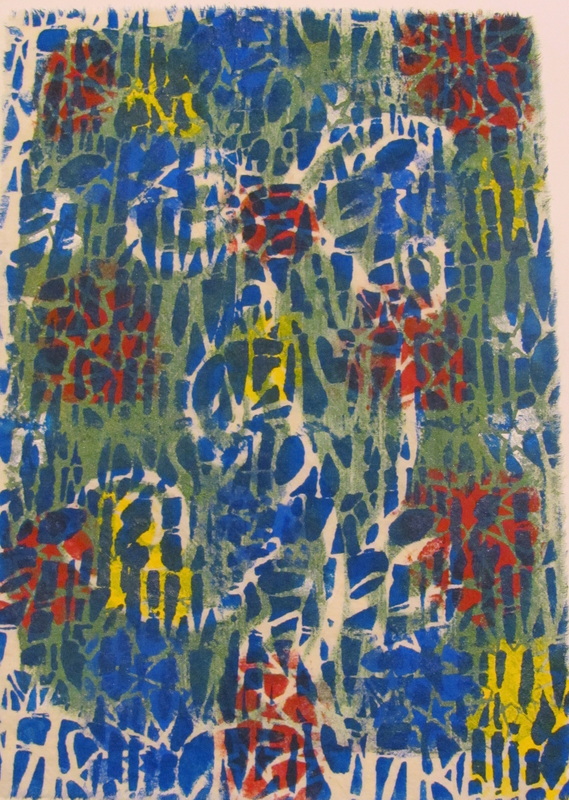
I started with a piece of muslin on which I had printed a single layer mono-print.
I started with a piece of muslin on which I had printed a single layer mono-print.
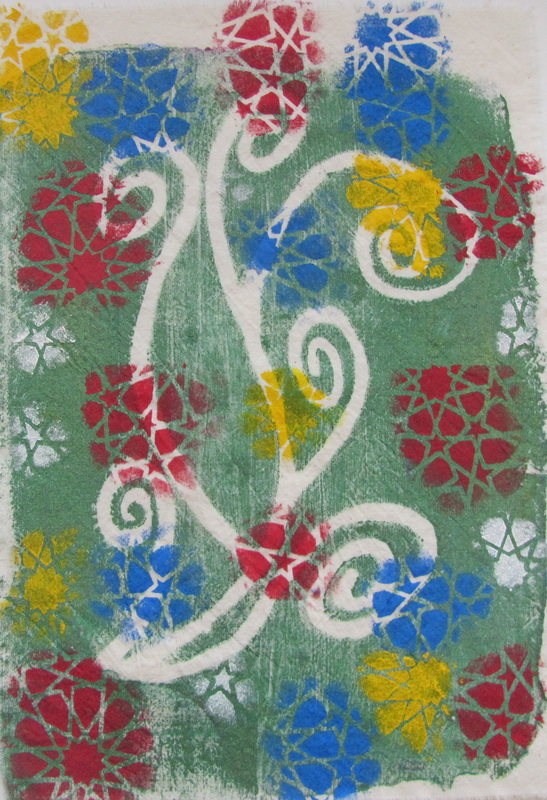
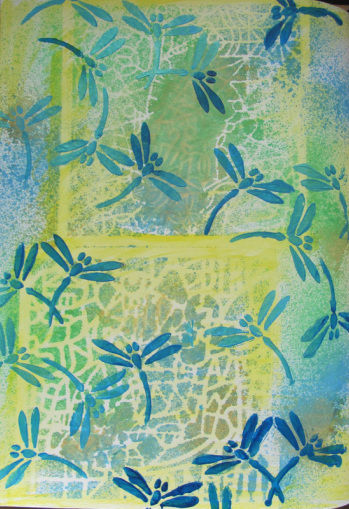
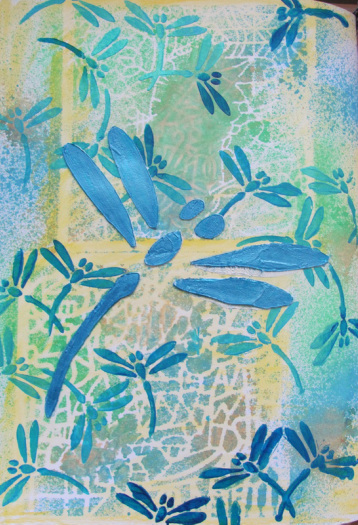
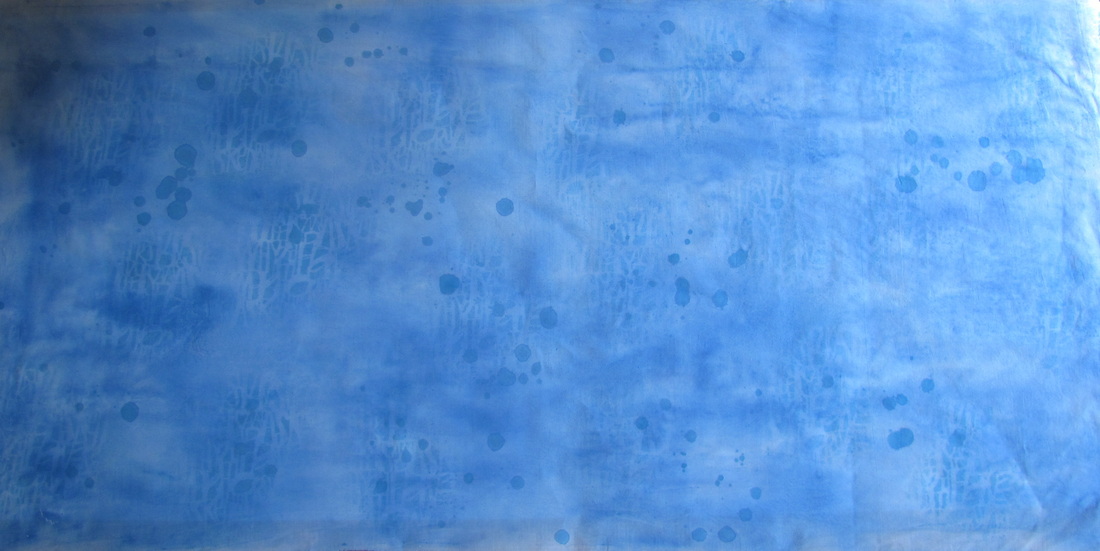
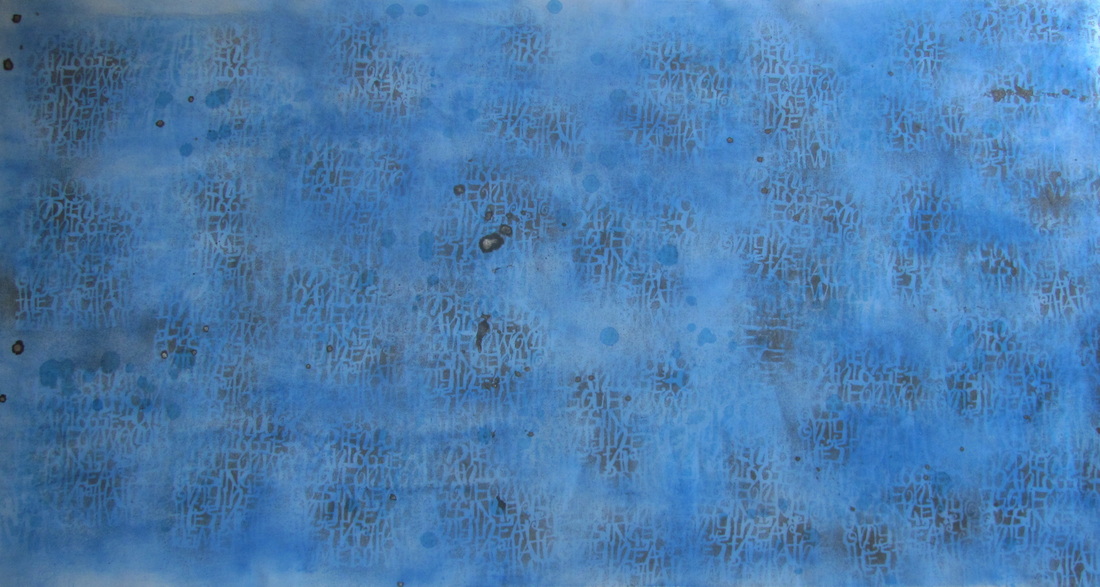
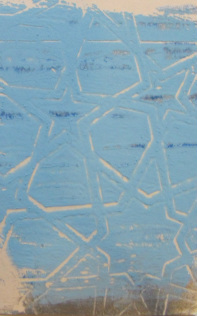
Over the top of that I add another texture layer using the Picasso stencil from the TEXTures 2 series.
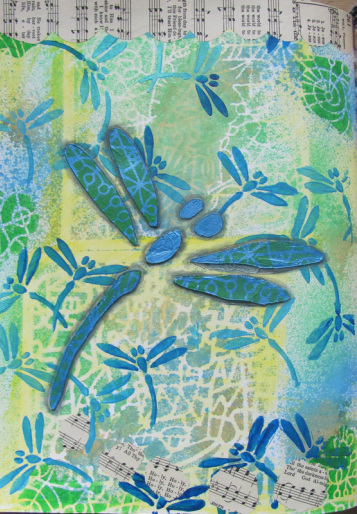
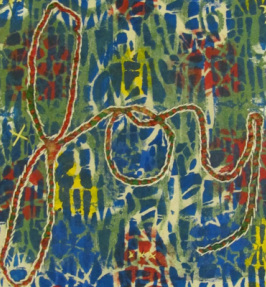
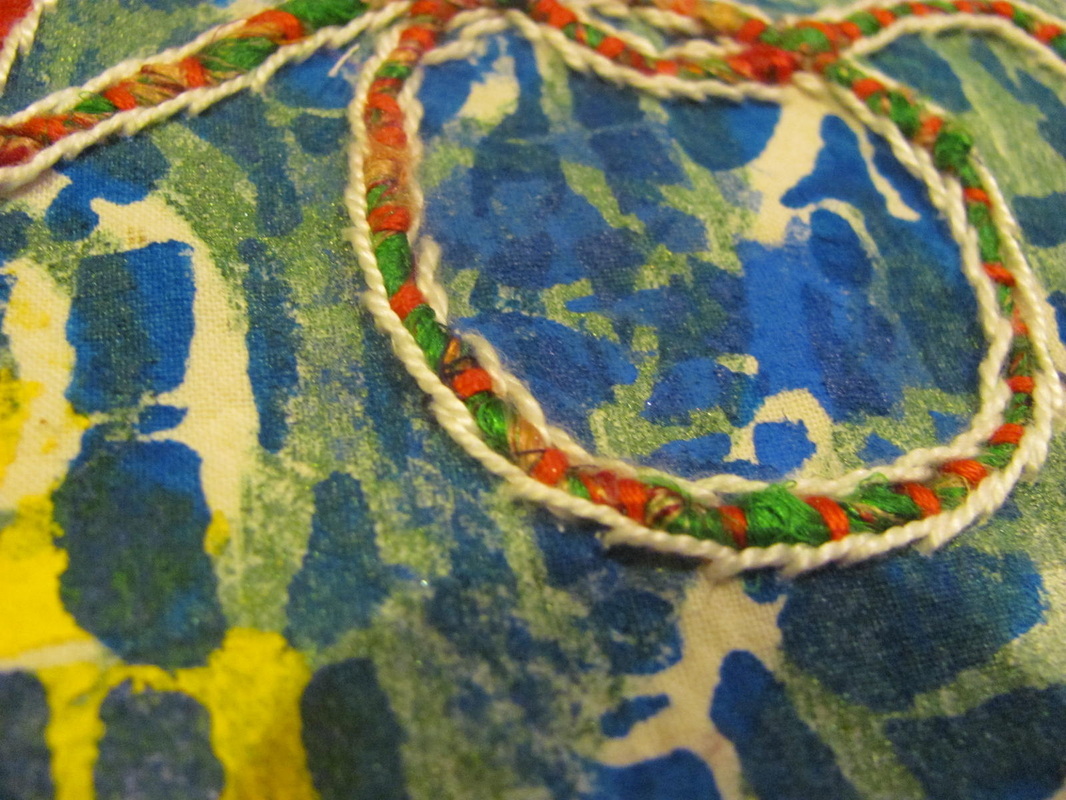
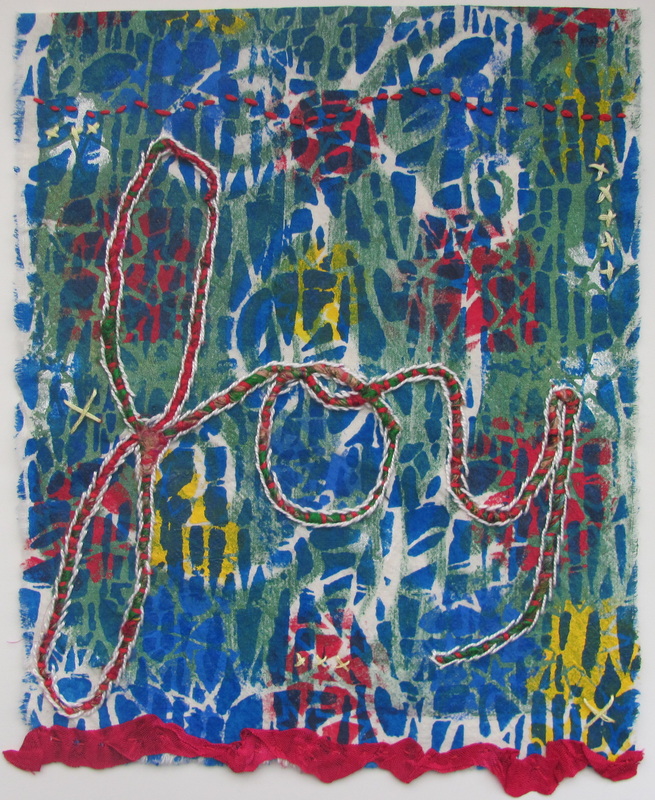
I folded over the top of the prayer flag and stitched it down with embroidery floss to make a hanging pocket. I added the word joy by couching down some recycled silk fibers. They add wonderful texture and a fun look. I stitched around the word with white thread so that it stood out from the background more. I added a few more stitches here and there for extra interest. I added some ribbon that I dyed to the bottom of the flag to finish it off.
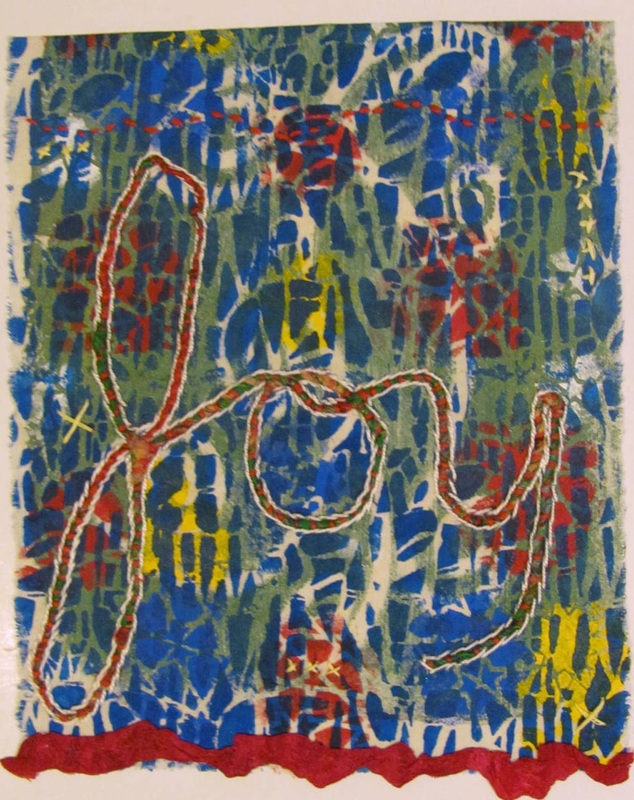
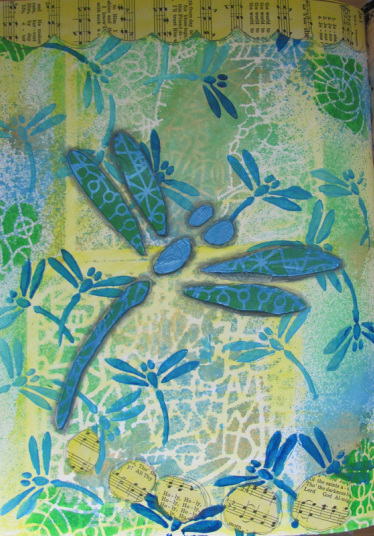
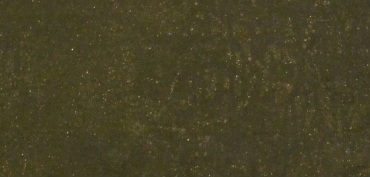
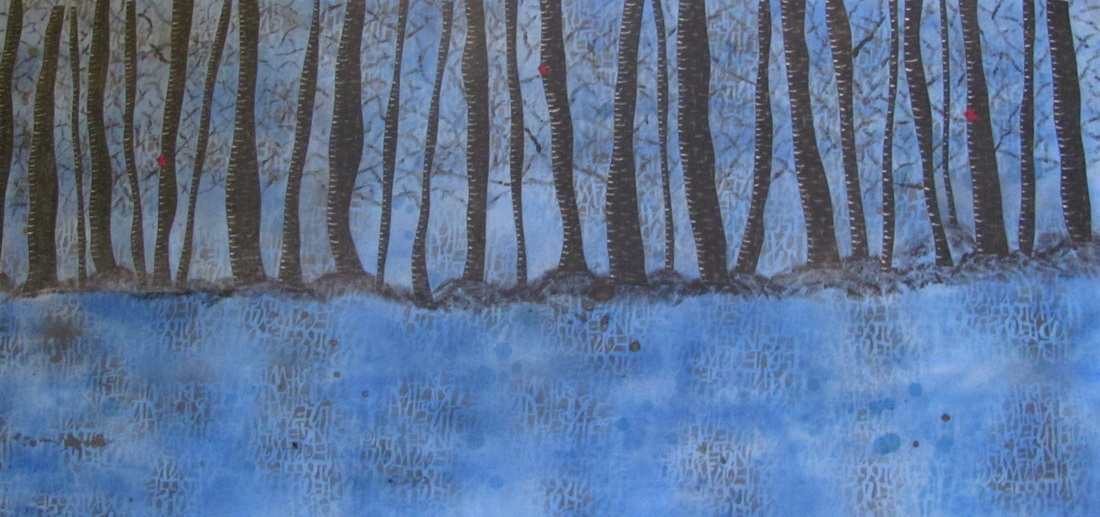
Here is a photo that I took in better lighting.
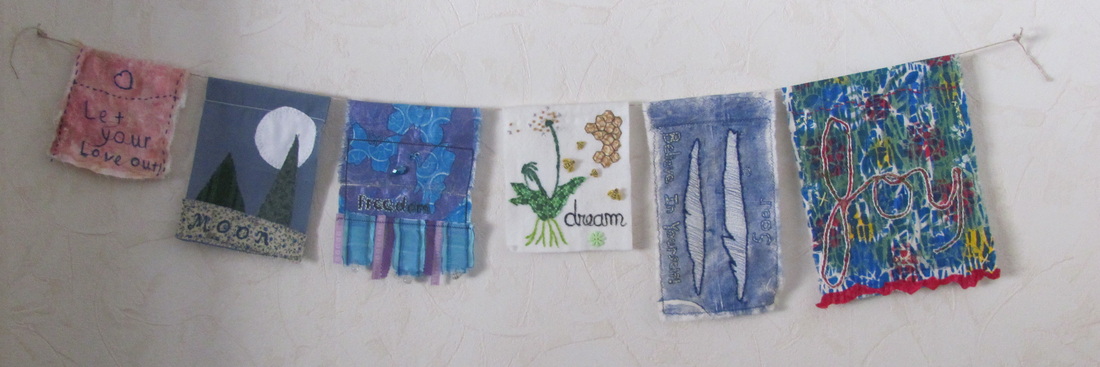
Here are some prayer flags hanging above my desk. I made some of them and some I received in a prayer flag exchange.
Have a wonderful weekend.
Janelle
Janelle